I listened to the book Time management made simple by Brian Tracy via Audible and honestly this is one of the best I’ve read/listened on this subject.
Make a decision. Every positive change in your life begins with a clear decision that you’re going to do something or stop doing something. Either fish or cut bait.
Self-discipline is the ability to make yourself do what you should do when you should do it whether you feel like it or not.
Develop a clear goals and objectives. Be clear on what is it that you want to achieve.
Plan every day in advance.
6P = prior proper planning prevents poor performance
Working from a to do list will improve your performance by 25% very first day you start practicing it. Think on paper.
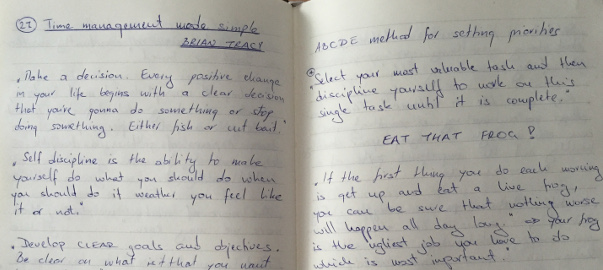
ABCDE method for setting priorities.
Select your most valuable desk and then discipline yourself to work on the single task until it is complete.
Eat that frog!
If the first thing you do each morning to get up and eat to live frog, you can be sure that nothing worst will happen all day long. Your frog is the ugliest job you have to do which is most important.
Work from a clean workspace.
Used travel time effectively! Always listen to educational material.
Zero-based thinking – is there anything in my life knowing what I know now I wouldn’t get into today if I had to do it again.
Set clear posteriorities – before you start doing something new you have to stop doing something old.
Keep your life in balance! The reason why you’re working you so that you can earn enough money to enjoy your family, health and the important parts of your personal life.
In life, relationships are everything. For 85% of your success in life will come from your happy relationships with all others. Only 15% happiness will come from your achievement from your work.
It’s quantity of time at home that counts, and quality of time at work.
Everything is hard before it’s easy. Goete
Only 21 days are needed to form a habit.
One minutes spent in planning saves 10 minutes in execution.
If I didn’t read this, will there be any negative consequences? If no – throw it away. It goes the same for information which you can get it elsewhere at a later time.
Doing something extremely well, the need not be done at all is a useless waste of time.
Effectiveness is doing the right things and efficiency is doing the things right.
The person you see is the person you will be. Imagine constantly yourself as a perfect, and you will mold your mind so.
When everyone knows that there’s an award at the end of the road the people around you will be more supportive and it will be even encourage you to work on your job until finished.
Whatever you can do, or dream you can – begin it! Boldness has genius power and magic in it. Goete
Seven years spent in bathroom. Six years eating. Five years waiting in line. Four years cleaning your house. Three years in meetings. One you searching for things. Eight months opening junk mail. Six months of waiting in the red lights. 125 days brushing your teeth. Four minutes per day conversing with your spouse. 30 seconds per day conversing with your children.
Be willing to make a decision and act on it. Be willing to make a mistake if necessary other than to hesitate or delay. The others are so afraid of a mistake that they do nothing.
John C. Gardener once wrote “Mastery it is not something that strikes instantly like a thunderbolt, but the gathering forward to it moves steadily through time, like the weather.”
To earn more, you must learn more.
Read at least one hour per day in your chosen field.
All readers are leaders.
Adult brain only learns something which is immediately applicable.
We only understand something to the degree which we are able to explain it to another person.
Delegate every job that can be done by someone else with a lower hourly rate did you earn.
Would you quit your current job if you got $10 million.
It doesn’t really matter where you’re coming from, it only matters where you’re going.
More child sees you’re committed about him doing his homework, the more it becomes committed to school work.
But she’s ill – she’s not the woman you married. Yes, but I’m still the man she married.
Don’t look at how much you already put in – invest on how the cards are now.
Never given to the temptation to clear the small things first!
Article – if it’s not immediately applicable to you, throw it away.