Disclaimer: I’m in no way affiliated with Nodejitsu or MEAN.io. I’m just documenting my experience with them – problems (and solutions) I’ve faced while trying these new technologies on a Windows machine.
Great, with that off my chest, we can now start. This is a successor post to the previous one: Getting started with Nodejitsu on Windows by deploying a MEN framework, so you may wanna check that too.
MEAN is a fullstack javascript platform for modern web applications.
MongoDB – leading NoSQL database, empowering businesses to be more agile and scalableExpress – minimal and flexible node.js web application framework, providing a robust set of features for building single and multi-page, and hybrid web applications
Angular – lets you extend HTML vocabulary for your application. The resulting environment is extraordinarily expressive, readable, and quick to develop
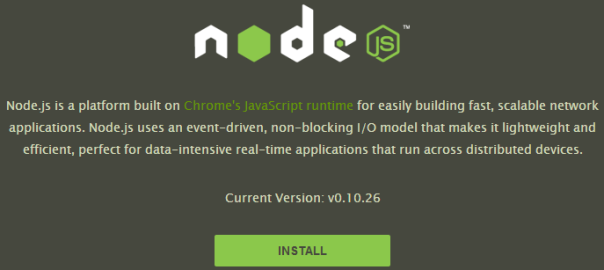
Node.js – a platform built on Chrome’s JavaScript runtime for easily building fast, scalable network applications
Following the notes on the official website you have to clone the repo, install all the dependencies withnpm and then run grunt .
git clone http://github.com/linnovate/mean.git

cd mean

npm install

grunt
If you get an error like this:
C:\Users\Nikola\Desktop\mean>grunt
Running "jshint:all" (jshint) task
>> 42 files lint free.

Running "concurrent:tasks" (concurrent) task
Running "nodemon:dev" (nodemon) task
Running "watch" task
Waiting...[nodemon] v1.0.15
[nodemon] to restart at any time, enter `rs`
[nodemon] watching: *.*
[nodemon] starting `node --debug server.js`
debugger listening on port 5858
Express app started on port 3000

events.js:72
        throw er; // Unhandled 'error' event
              ^
Error: failed to connect to [localhost:27017]
    at null.<anonymous> (C:\Users\Nikola\Desktop\mean\node_modules\mongoose\node
_modules\mongodb\lib\mongodb\connection\server.js:553:74)
    at EventEmitter.emit (events.js:106:17)
    at null.<anonymous> (C:\Users\Nikola\Desktop\mean\node_modules\mongoose\node
_modules\mongodb\lib\mongodb\connection\connection_pool.js:140:15)
    at EventEmitter.emit (events.js:98:17)
    at Socket.<anonymous> (C:\Users\Nikola\Desktop\mean\node_modules\mongoose\no
de_modules\mongodb\lib\mongodb\connection\connection.js:512:10)
    at Socket.EventEmitter.emit (events.js:95:17)
    at net.js:440:14
    at process._tickCallback (node.js:415:13)
[nodemon] app crashed - waiting for file changes before starting...
make sure that you have MongoDB installed and that you have the mongod.exe running on the default port 27017. Instructions on how to install MongoDB on a Windows machine can be found here: http://docs.mongodb.org/manual/tutorial/install-mongodb-on-windows/, but tl;dr is:
- download the installation zip package
- unzip in c:\mongodb
- create c:\data\db folder
- run c:\mongodb\bin\mongod.exe
When you have mongod.exe started in one command window (I use Console2) and you run grunt in other you will get this in the “mongo” console:
C:\mongodb\bin>mongod.exe
mongod.exe --help for help and startup options
Tue Mar 11 14:50:24.240 [initandlisten] MongoDB starting : pid=10136 port=27017 dbpath=\data\db\ 64-bit host=Nikola-PC
Tue Mar 11 14:50:24.240 [initandlisten] db version v2.4.9
Tue Mar 11 14:50:24.240 [initandlisten] git version: 52fe0d21959e32a5bdbecdc62057db386e4e029c
Tue Mar 11 14:50:24.240 [initandlisten] build info: windows sys.getwindowsversion(major=6, minor=1, build=7601, platform=2, service_pack='Service Pack 1') BOOST_LIB_VERSION=1_49
Tue Mar 11 14:50:24.240 [initandlisten] allocator: system
Tue Mar 11 14:50:24.240 [initandlisten] options: {}
Tue Mar 11 14:50:24.244 [initandlisten] journal dir=\data\db\journal
Tue Mar 11 14:50:24.244 [initandlisten] recover : no journal files present, no recovery needed
Tue Mar 11 14:50:24.323 [initandlisten] waiting for connections on port 27017
Tue Mar 11 14:50:24.324 [websvr] admin web console waiting for connections on port 28017
Tue Mar 11 14:50:40.982 [initandlisten] connection accepted from 127.0.0.1:58323 #1 (1 connection now open)
Tue Mar 11 14:50:41.014 [initandlisten] connection accepted from 127.0.0.1:58324 #2 (2 connections now open)
Tue Mar 11 14:50:41.024 [initandlisten] connection accepted from 127.0.0.1:58325 #3 (3 connections now open)
Tue Mar 11 14:50:41.024 [initandlisten] connection accepted from 127.0.0.1:58326 #4 (4 connections now open)
Tue Mar 11 14:50:41.025 [initandlisten] connection accepted from 127.0.0.1:58327 #5 (5 connections now open)
and this in the “grunt” console:
C:\Users\Nikola\Desktop\mean>grunt
Running "jshint:all" (jshint) task
>> 42 files lint free.

Running "concurrent:tasks" (concurrent) task
Running "nodemon:dev" (nodemon) task
Running "watch" task
Waiting...[nodemon] v1.0.15
[nodemon] to restart at any time, enter `rs`
[nodemon] watching: *.*
[nodemon] starting `node --debug server.js`
debugger listening on port 5858
Express app started on port 3000
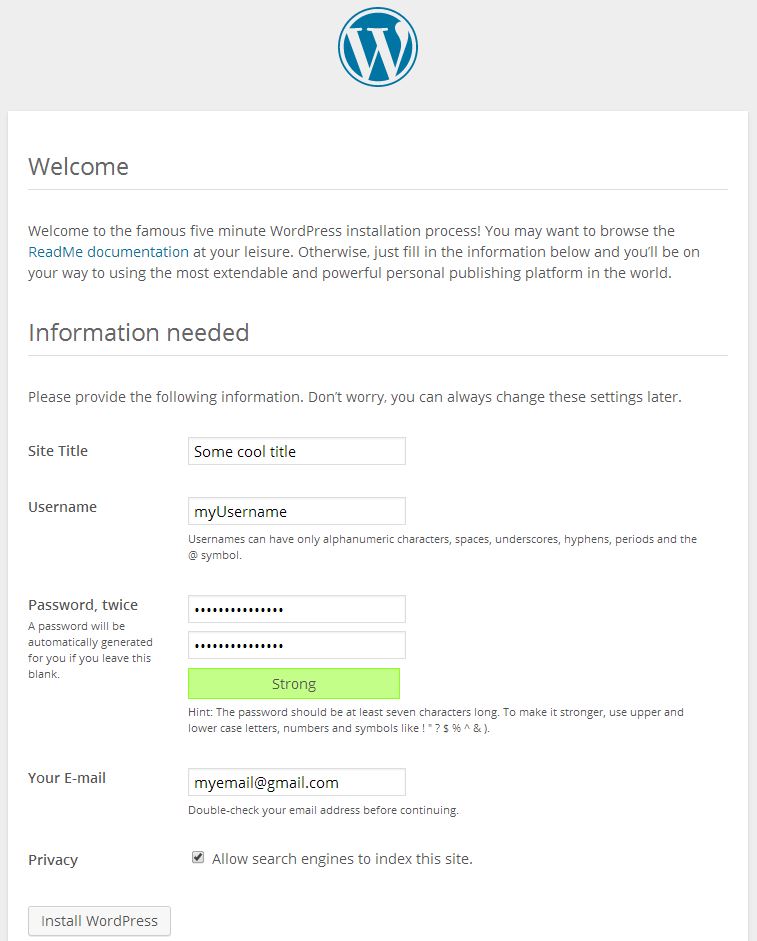
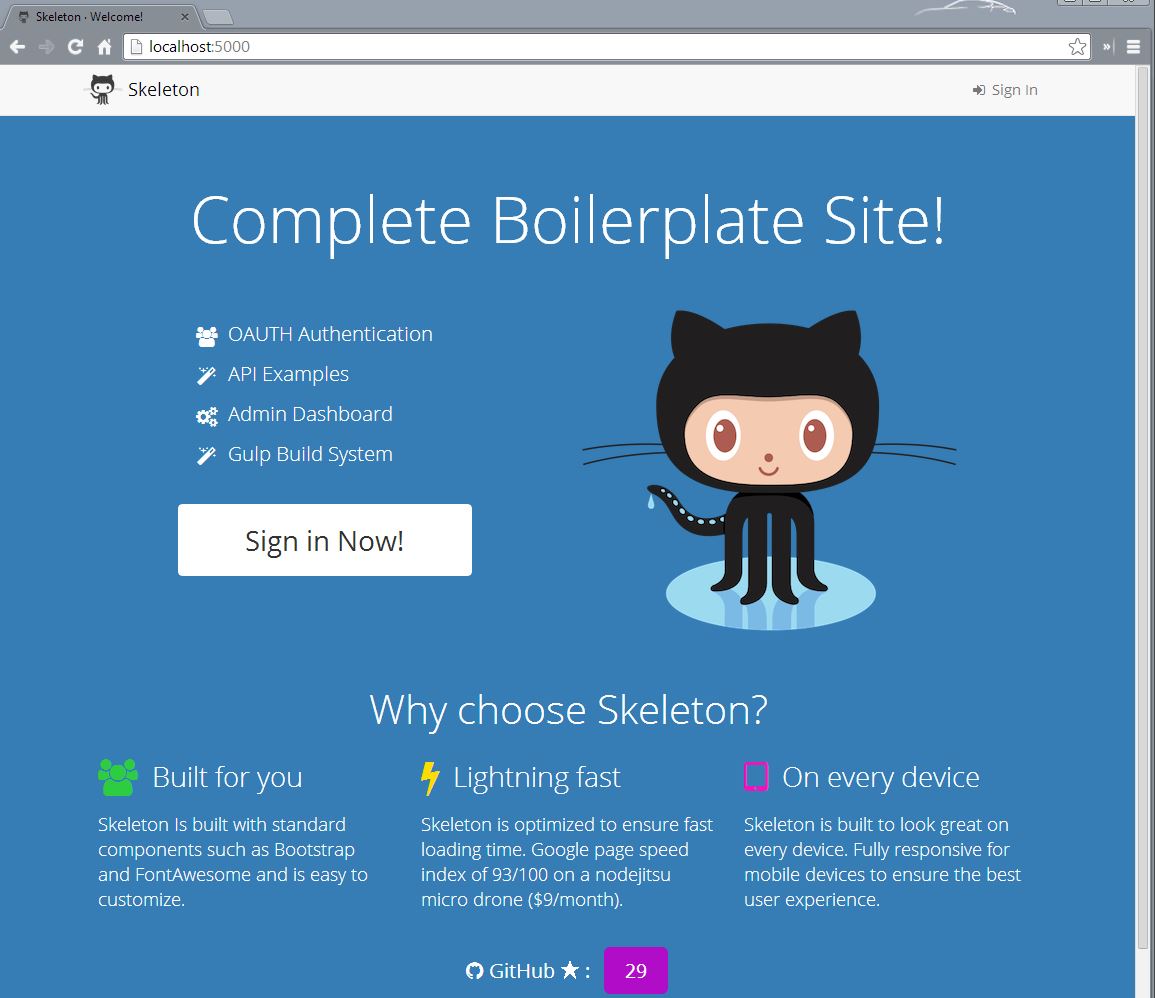
You can now take a look at your application by visiting localhost:3000 in your browser: 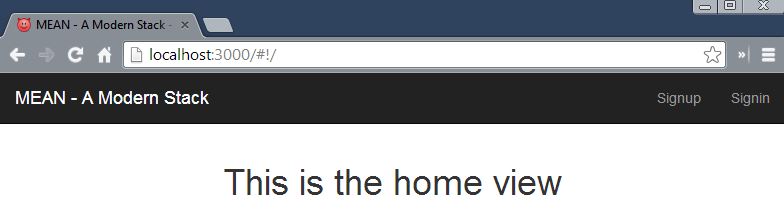 the signup screen:
 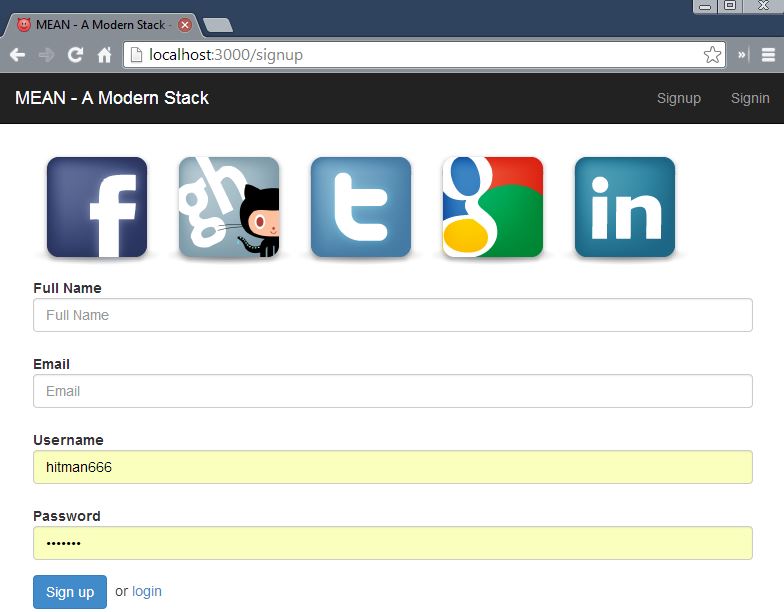 and signin screen:
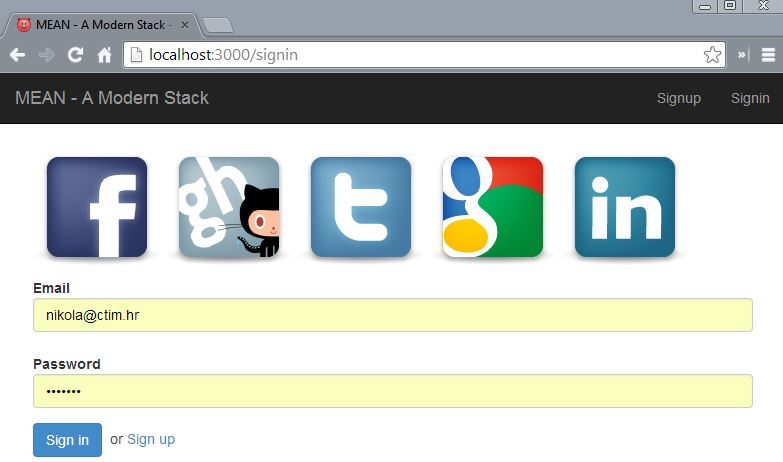
Ship it
In order to deploy to Nodejitsu, you have to login to Nodejitsu (jitsu login ) and then run jitsu deploy . At this point I got an error like this:
info:    Starting app mean
error:   Error running command deploy
error:   Errors occured while starting the application
error:   Error output from application. This is usually a user error.
error:   grunt-cli: The grunt command line interface. (v0.1.13)
error:
error:   Fatal error: Unable to find local grunt.
error:
error:   If you're seeing this message, either a Gruntfile wasn't found or grunt
error:   hasn't been installed locally to your project. For more information about
error:   installing and configuring grunt, please see the Getting Started guide:
error:
error:   http://gruntjs.com/getting-started
error:
error:   Error starting application. This could be a user error.
error:   info: Running start for app.
error:   info: Cleaning /opt/run
error:   info: Fetching application snapshot...
error:   info: Application snapshot fetched.
error:   info: Unpacking snapshot...
error:   info: Reading `package.json`...
error:   info: Starting application...
error:   info: Spawn: start --min-uptime 2000 -o /opt/run/forza.log -- forza -h multiplex.nodejitsu.com -p 8556 --start-log /opt/run/start.log --app-user hitman666 --app-name mean -- node node_modules/grunt-cli/bin/grunt
error:   info: `aeternum` pid: 63258
error:   info: Writing pidfile: /root/app.pid
error:   info: Tailing forza log: /opt/run/start.log
error:   info: Tail closing..
error:   info: Retry # 1 with 1000ms interval
error:   info: Tailing forza log: /opt/run/start.log
error:   info: Tail closing..
error:   info: Success:start
and naturally, I went looking if someone had a similar issue and it turns out someone on Stackoverflow asked this question. The OP (original poster) did find a solution him self and he said:
The gist of it was I had to move all grunt, karma, and forever dependencies to my devDependencies in the package.json file and change my start to “node server”.
Now, I tried to communicate with the OP to get some more info, but strangely no reply (yet). I figured it out myself in the end and this is how my package.json file looks like now:
{
  "name": "mean",
  "description": "MEAN - A fullStack javascript framework powered by  MongoDB, ExpressJS, AngularJS, NodeJS.",
  "version": "0.1.2-1",
  "private": false,
  "repository": {
    "type": "git",
    "url": "https://github.com/linnovate/mean.git"
  },
  "engines": {
    "node": "0.10.x",
    "npm": "1.3.x"
  },
  "scripts": {
    "start": "node server.js",
    "test": "node node_modules/grunt-cli/bin/grunt test",
    "postinstall": "node node_modules/bower/bin/bower install"
  },
  "dependencies": {
    "express": "~3.4.7",
    "bower": "~1.2.8",
    "grunt-cli": "~0.1.11",
    "connect-mongo": "~0.4.0",
    "connect-flash": "~0.1.1",
    "consolidate": "~0.10.0",
    "swig": "~1.3.2",
    "mongoose": "~3.8.3",
    "passport": "~0.1.18",
    "passport-local": "~0.1.6",
    "passport-facebook": "~1.0.2",
    "passport-twitter": "~1.0.2",
    "passport-github": "~0.1.5",
    "passport-google-oauth": "~0.1.5",
    "passport-linkedin": "~0.1.3",
    "lodash": "~2.4.1",
    "forever": "~0.10.11",
    "view-helpers": "~0.1.4",
    "mean-logger": "0.0.1"
  },
  "devDependencies": {
    "grunt-env": "~0.4.1",
    "grunt-cli": "~0.1.11",
    "grunt-contrib-watch": "latest",
    "grunt-contrib-jshint": "latest",
    "grunt-karma": "~0.6.2",
    "grunt-nodemon": "0.2.0",
    "grunt-concurrent": "latest",
    "grunt-mocha-test": "latest",
    "karma": "~0.10.4",
    "karma-coffee-preprocessor": "~0.1.0",
    "karma-coverage": "~0.1.0",
    "karma-script-launcher": "~0.1.0",
    "karma-chrome-launcher": "~0.1.0",
    "karma-firefox-launcher": "~0.1.0",
    "karma-html2js-preprocessor": "~0.1.0",
    "karma-jasmine": "~0.1.3",
    "karma-requirejs": "~0.2.0",
    "karma-phantomjs-launcher": "~0.1.0",
    "forever": "~0.10.11",
    "supertest": "0.8.2",
    "should": "2.1.1"
  },
  "subdomain": "hitman666-mean2"
}
After making this change I deployed my application once more, and everything went without an error, but when I browsed it on Nodejitsu I got an error
502 Reached max retries limit
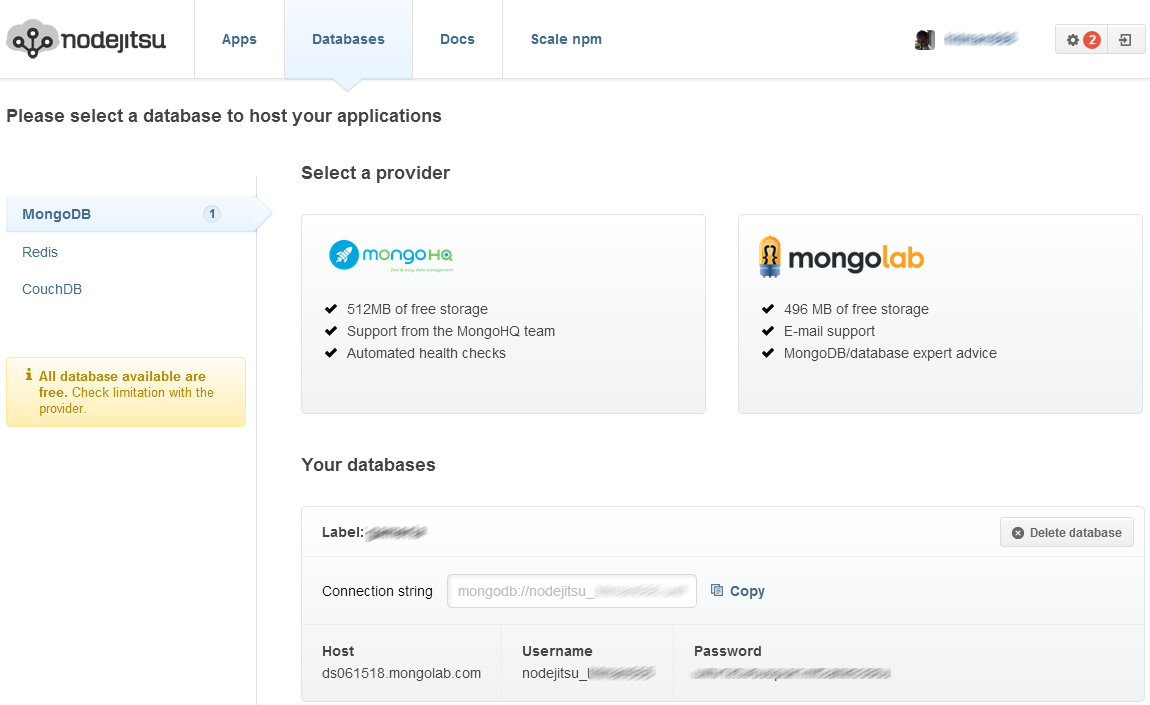
I realized that I don’t have a correct MongoDB connection string, and in order to change this I had to edit the file production.js which is in the config/env/ folder.
I copied the MongoDB connection string from Nodejitsu’s admin dashboard (I wrote about how to set this in my previous post: Getting started with Nodejitsu on Windows by deploying a MEN framework).
After this change I deployed my app again, and now everything was working, yay!