This is a post about getting started with OpenShift Online on a Windows machine by deploying a MongoDB, Node.js and RockMongo application for free. The reason why this wasn’t a title is that it’s just too darn long :). Cool, with getting that off my chest, we can now start…
OpenShift Online – Red Hat’s public cloud application development and hosting platform that automates the provisioning, management and scaling of applications so that you can focus on writing the code for your business, startup, or next big idea.
If you’ve tried OpenShift, you may have come across this offical how-to video only to find it completely useless. The accompanying official blog post is way better but still lacks some exact example code on, for example, how to connect to MongoDB from Node.js. Read on to see how I did it.
First, you have to create a new OpenShift account in case you don’t have one already.
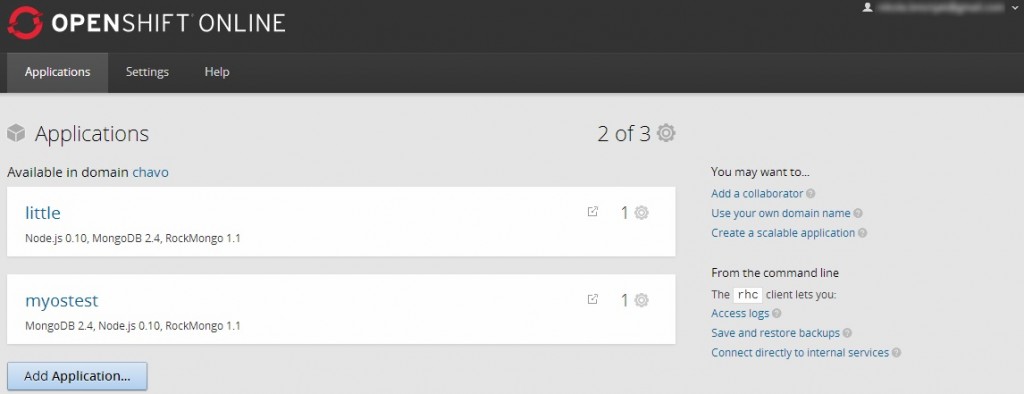
Once you login to the site you get a nice looking dashboard and in order to create a new application you could click on the Add application button:
which would then offer really a lot of options:
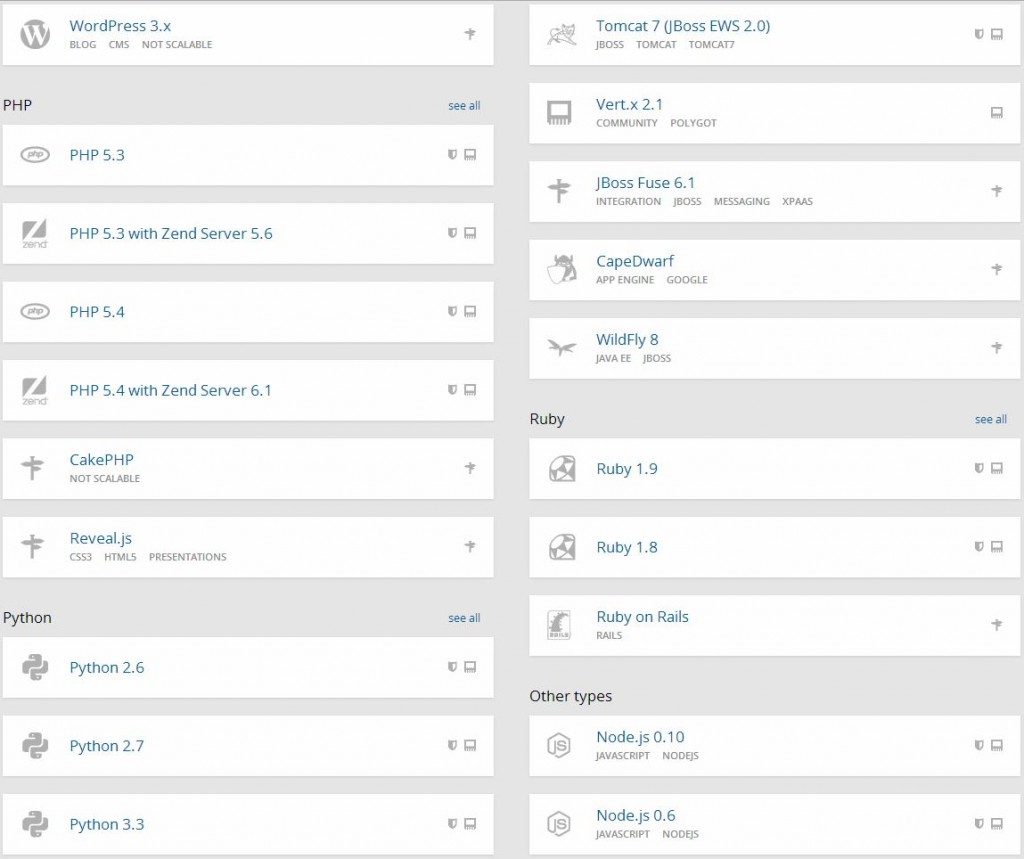
Setting up WordPress is easy as clicking the WordPress icon and naming your app on the next page:
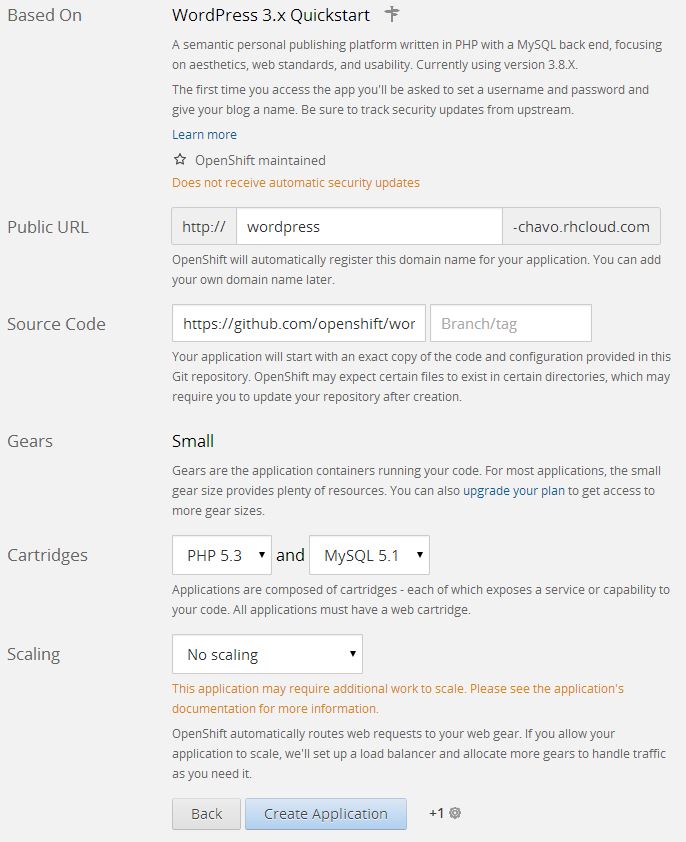
and clicking the Create Application button. After the process finishes (few mins) you get the instructions on how to alter the application:
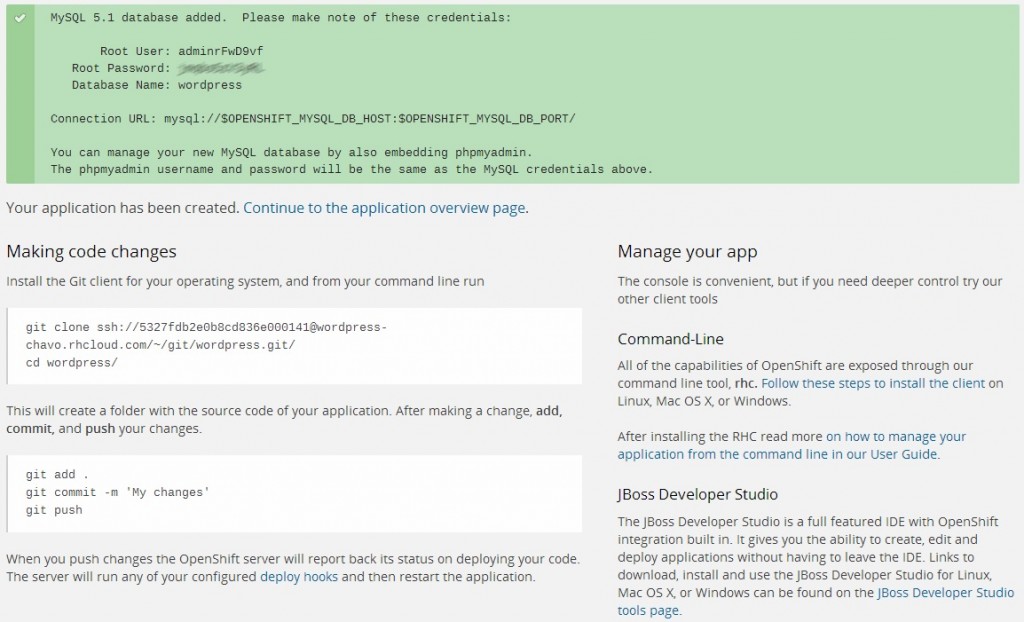
Basically, you clone the application’s source code with git and after doing some changes you push them back. At this point, all you have to do is visit the link of your newly created application (you can see the link in your Applications tab in the OpenShift admin interface) and you’ll get the WordPress init install screen:
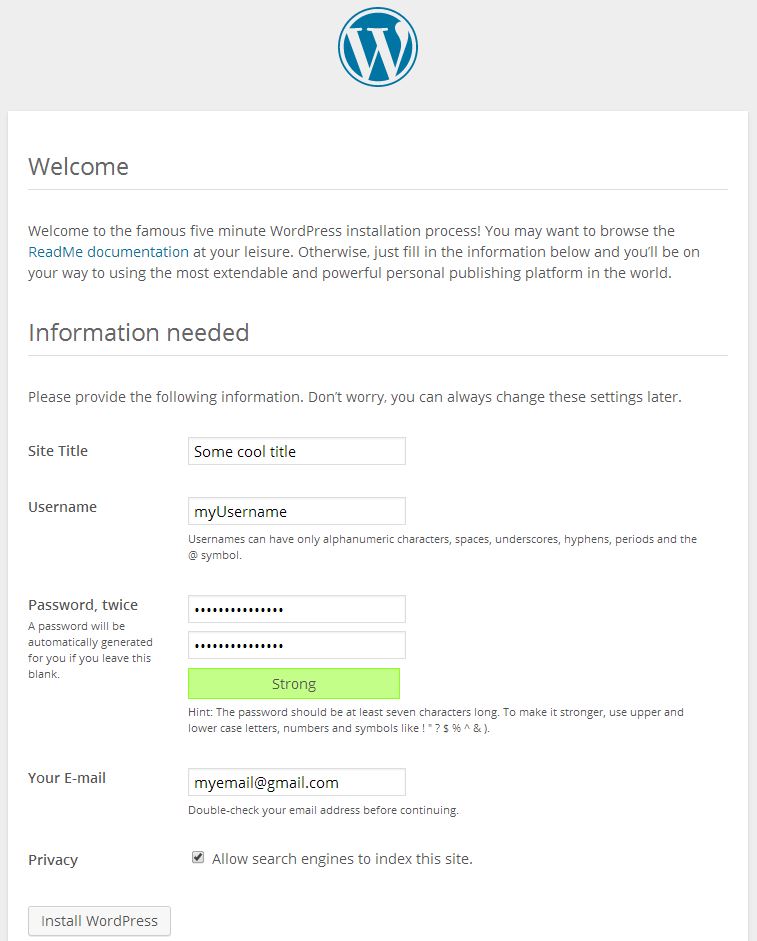
If you ever installed WordPress before everything should be familiar from now on. And there you have it – you have WordPress installed in a matter of few clicks.
Keep calm and roll up your sleves
You may be wondering where’s the MongoDB and Node.js from the title? Hack on…
So, we saw how easy it was to create an app from web admin interface, but since we’re devs and we loove terminal (don’t we ;)) we’re gonna take a different route here. OpenShift offers the OpenShift Client tools aka rhc. In order to install rhc you first have to have Ruby installed, and the easiest way to do this on a Windows machine is to install the RubyInstaller:
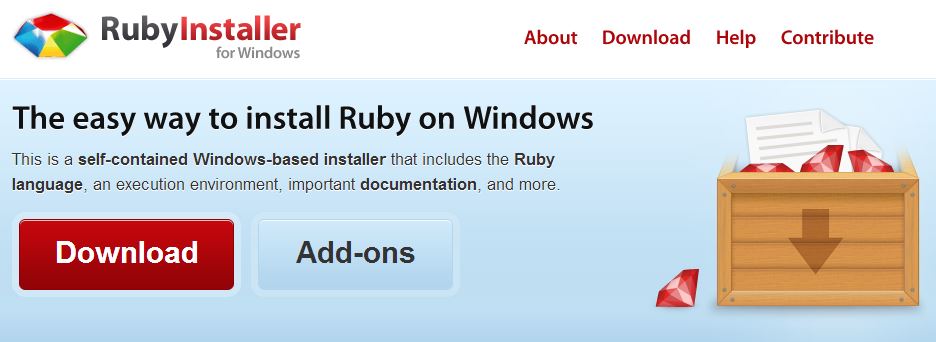
Just click the big red download button and I’m sure you now how to take it from there. Important note though, while installing just make sure that you check the Add Ruby executables to your PATH option:
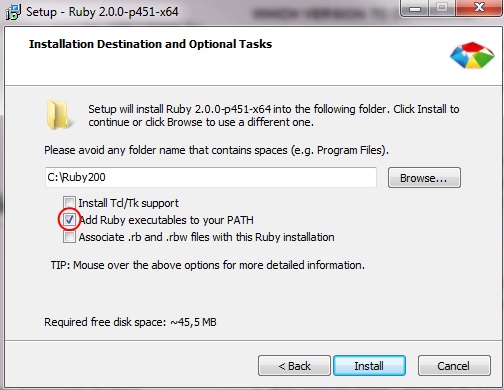
After the installation is done you can fire up your terminal (I use Console 2, and you can see my settings here: Customize Console 2 on Windows machine) and run
gem install rhc
and once this is done just run rhc setup (this is an important part for us Windows users, as the official documentation on Installing OpenShift RHC Client Tools says we should only run rhc , and that does not work – as noted by the comments on that post).
Now we can use rhc to create a new application. To create a new application named myTest with Node.js and MongoDB you have to run:
rhc app create myTest nodejs-0.10 mongodb-2.4
and you’ll get an output similar to this:
C:\Users\Nikola\Desktop>rhc app create myTest nodejs-0.10 mongodb-2.4
DL is deprecated, please use Fiddle
Application Options
-------------------
Domain:     chavo
Cartridges: nodejs-0.10, mongodb-2.4
Gear Size:  default
Scaling:    no

Creating application 'myTest' ... done

  MongoDB 2.4 database added.  Please make note of these credentials:

   Root User:     admin
   Root Password: ..bip..Bip..
   Database Name: mytest

Connection URL: mongodb://$OPENSHIFT_MONGODB_DB_HOST:$OPENSHIFT_MONGODB_DB_PORT/

Waiting for your DNS name to be available ... done

Cloning into 'mytest'...
The authenticity of host 'mytest-chavo.rhcloud.com (54.235.21.98)' can't be established.
RSA key fingerprint is cf:ee:77:cb:0e:fc:02:d7:72:7e:ae:80:c0:90:88:a7.
Are you sure you want to continue connecting (yes/no)? yes
Warning: Permanently added 'mytest-chavo.rhcloud.com,54.235.21.98' (RSA) to the list of known hosts.
Enter passphrase for key '/c/Users/Nikola/.ssh/id_rsa':
remote: Counting objects: 21, done.
remote: Compressing objects: 100% (17/17), done.
Receiving objects: 100% (21/21), 20.22 KiB, done.ceiving objects:  90% (19/21)

Your application 'mytest' is now available.

  URL:        http://mytest-chavo.rhcloud.com/
  SSH to:     [email protected]
  Git remote: ssh://[email protected]/~/git/mytest.git/
  Cloned to:  C:/Users/Nikola/Desktop/mytest

Run 'rhc show-app myTest' for more details about your app.
If you’re concerned about that ‘DL is deprecated, please use Fiddle‘, don’t be as it’s a mere warning as they say on Stackoverflow (or if you want to explore this topic further make sure you check this question on SO).
If you get an error saying that there’s no such cartridge you will get a list of all the available cartridges which you can use, so just adjust the above command accordingly
C:\Users\Nikola\Desktop>rhc app create
DL is deprecated, please use Fiddle
When creating an application, you must provide a name and a cartridge from the
list below:

Short Name      Full name
==========      =========
diy-0.1         Do-It-Yourself 0.1
jbossas-7       JBoss Application Server 7
jbosseap-6      JBoss Enterprise Application Platform 6
jenkins-1       Jenkins Server
nodejs-0.10     Node.js 0.10
nodejs-0.6      Node.js 0.6
perl-5.10       Perl 5.10
php-5.3         PHP 5.3
zend-5.6        PHP 5.3 with Zend Server 5.6
php-5.4         PHP 5.4
zend-6.1        PHP 5.4 with Zend Server 6.1
python-2.6      Python 2.6
python-2.7      Python 2.7
python-3.3      Python 3.3
ruby-1.8        Ruby 1.8
ruby-1.9        Ruby 1.9
jbossews-1.0    Tomcat 6 (JBoss EWS 1.0)
jbossews-2.0    Tomcat 7 (JBoss EWS 2.0)
jboss-vertx-2.1 Vert.x 2.1

Please specify the name of the application and the web cartridge to install
Usage: rhc app-create <name> <cartridge> [... <cartridge>] [... VARIABLE=VALUE]
[-n namespace]
Pass '--help' to see the full list of options
Keep on rockin’ on
MongoDB is an open-source document database, and the leading NoSQL database. In order to add RockMongo MongoDB administration, which is a web front-end for interacting with your MongoDB, you have to execute this command:
rhc cartridge add rockmongo
after which you get an output similar to this:
C:\Users\Nikola\Desktop\mytest>rhc cartridge add rockmongo
DL is deprecated, please use Fiddle
Using rockmongo-1.1 (RockMongo 1.1) for 'rockmongo'
Adding rockmongo-1.1 to application 'mytest' ... done

rockmongo-1.1 (RockMongo 1.1)
-----------------------------
  Gears:          Located with mongodb-2.4, nodejs-0.10
  Connection URL: https://mytest-chavo.rhcloud.com/rockmongo/

Please make note of these MongoDB credentials:
  RockMongo User: admin
  RockMongo Password: ..i.aint.telin'..
URL: https://mytest-chavo.rhcloud.com/rockmongo/
If you login to RockMongo by using the username and pass provided you will get a simple but useful interface:
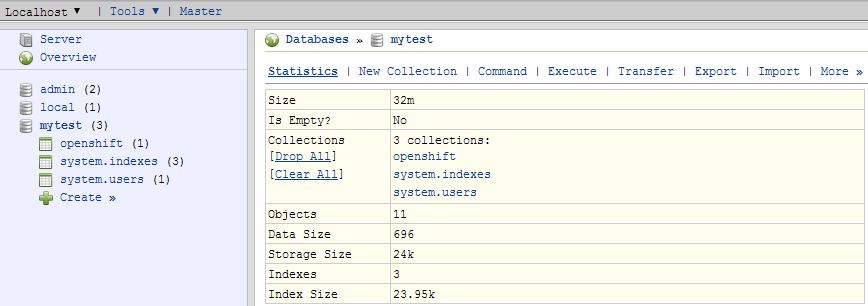
However, if you prefer to do it via shell, you can do this:
rhc ssh
and after that start interactive command-line interface by typing mongo :
[mytest-chavo.rhcloud.com 532812f94382eca22b000657]\> mongo
MongoDB shell version: 2.4.6
connecting to: 127.9.197.130:27017/admin
Welcome to the MongoDB shell.
For interactive help, type "help".
For more comprehensive documentation, see
        http://docs.mongodb.org/
Questions? Try the support group
        http://groups.google.com/group/mongodb-user
Now let’s select a database, which will be same as your app’s name.
> use mytest
switched to db mytest
To insert some record we can do something like this:
> var a = {"user":"nikola", points:10};
> db.scores.insert(a);
and check if it was successfully inserted:
> db.scores.find();
{ "_id" : ObjectId("53284189d6e5e4aedb1fbafd"), "user" : "nikola", "points" : 10 }
To query this information with Node.js you first have to install mongojs with npm install mongojs . Then open up the server.js file (it is in the root folder of your application) and add these lines in the self.createRoutes object:
self.routes['/db'] = function(req, res) {
    var mongojs = require('mongojs');
    var dbName = "/mytest";
    var connection_string = process.env.OPENSHIFT_MONGODB_DB_USERNAME + ":" +  process.env.OPENSHIFT_MONGODB_DB_PASSWORD + "@" + process.env.OPENSHIFT_MONGODB_DB_HOST + dbName;
    var db = mongojs(connection_string, ['scores']);
    var books = db.collection('scores');

    db.scores.find(function(err, docs) {
       res.send(docs);
    });
};
All aboard, and ready to take-off
Now it’s time to add the changes to the staging state with git add . (you may wanna check Git if this looks daunting). You can check the status of the files with git status . To commit the changes you have to execute: git commit -a -m “Added code to talk to db” and finally git push to send the changes to OpenShift for deployment.
Now, if you followed this tutorial, on the link http://mytest-chavo.rhcloud.com/db (notice this db here, and ofc exact link would reflect to your app) you should get this output:
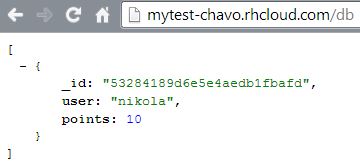
And a quick closing with with one useful command to get the overview of the app settings:
C:\Users\Nikola\Desktop\mytest>rhc app show
DL is deprecated, please use Fiddle
mytest @ http://mytest-chavo.rhcloud.com/ (uuid: 532812f94382eca22b000657)
--------------------------------------------------------------------------
  Domain:     chavo
  Created:    10:33 AM
  Gears:      1 (defaults to small)
  Git URL:    ssh://[email protected]/~/git/mytest.git/
  SSH:        [email protected]
  Deployment: auto (on git push)

  mongodb-2.4 (MongoDB 2.4)
  -------------------------
    Gears:          Located with nodejs-0.10, rockmongo-1.1
    Connection URL: mongodb://$OPENSHIFT_MONGODB_DB_HOST:$OPENSHIFT_MONGODB_DB_PORT/
    Database Name:  mytest
    Password:       ..ccc...
    Username:       admin

  nodejs-0.10 (Node.js 0.10)
  --------------------------
    Gears: Located with mongodb-2.4, rockmongo-1.1

  rockmongo-1.1 (RockMongo 1.1)
  -----------------------------
    Gears:          Located with mongodb-2.4, nodejs-0.10
    Connection URL: https://mytest-chavo.rhcloud.com/rockmongo/
And this is it, now it’s your time to make something useful with it!


