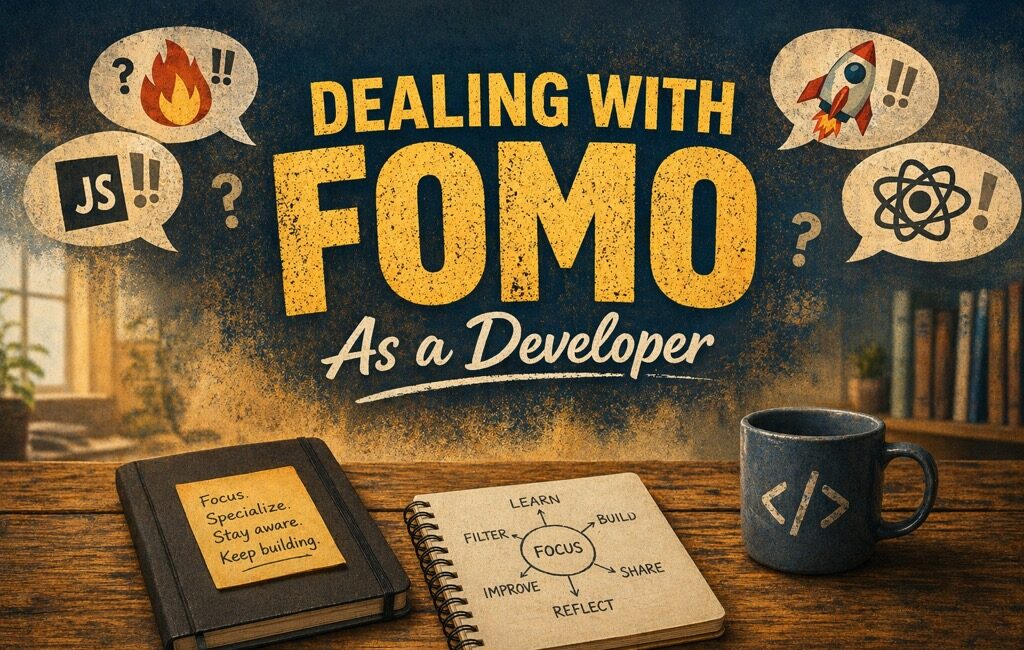
FOMO as a Developer: You’re Not Behind, You’re Just Human
There’s a special kind of anxiety that comes as a bonus when working in tech. A new framework drops. A new AI tool shows up. Someone posts a…

There’s a special kind of anxiety that comes as a bonus when working in tech. A new framework drops. A new AI tool shows up. Someone posts a…
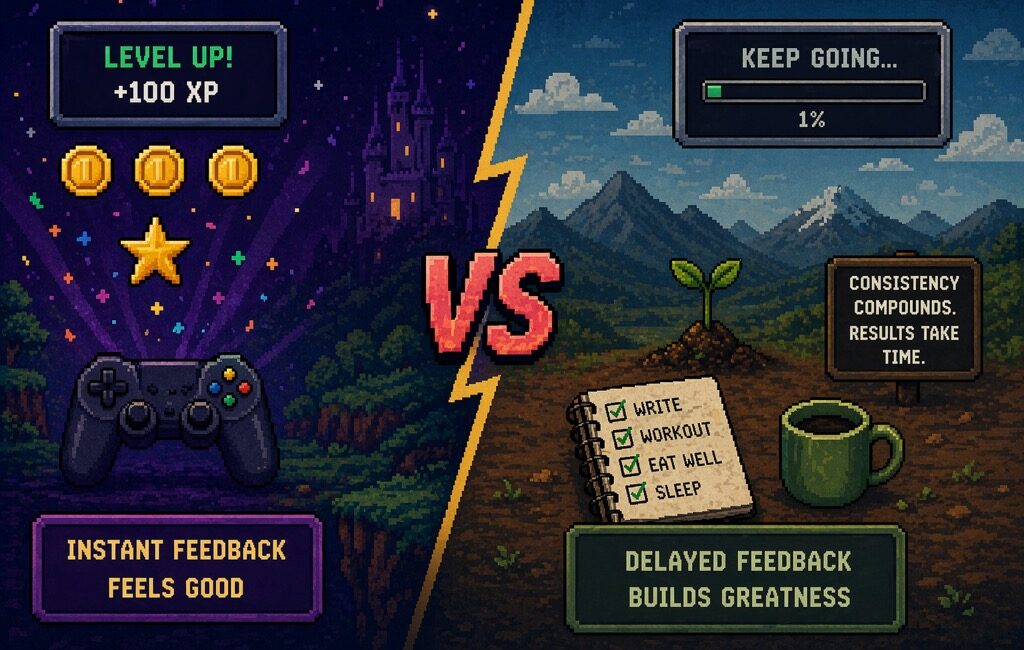
One of the reasons we struggle keeping up with good habits is that real life is terrible at giving us quick rewards. If most worthwhile things in life…
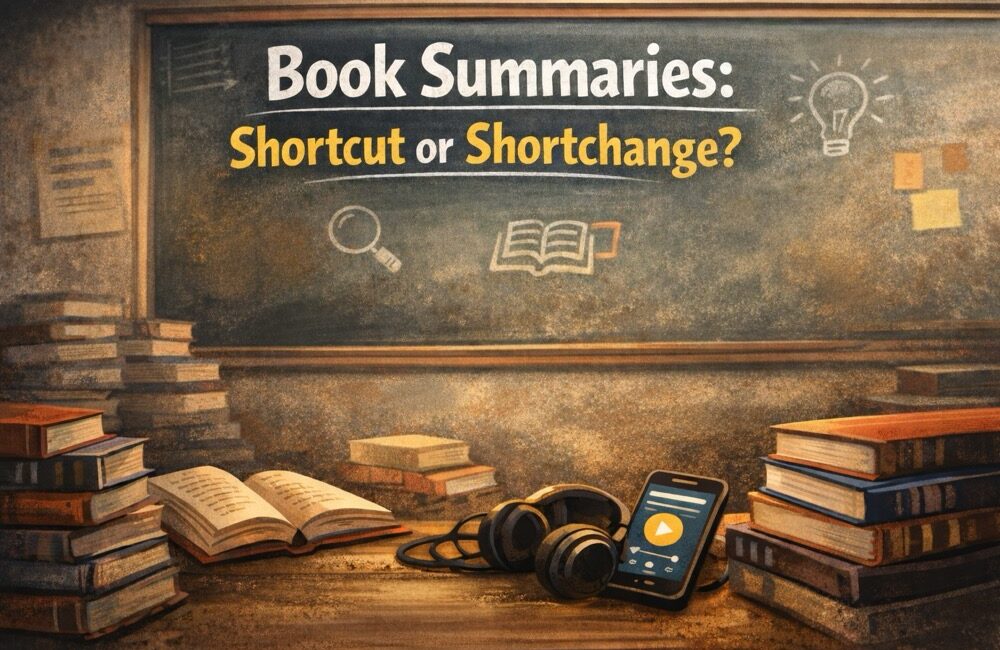
TL;DR Every now and then, a “shortcut” to learning shows up and promises to save us time, money, and maybe even a bit of guilt about the unread…
TL;DR I believe this book will improve your life immensely. It’s one of those books where you have to get over your pride of "I don’t need this",…

Let’s talk about the, now almost dead!?, art of blogging… And not just blogging in the narrow sense of "write articles on your own website", but the broader…

"Double your reading speed in as fast as one weekend. Only $399 _paid in 4 manageable intallments_" Lol, sounds like a cringe comercial. And, well, a bit of…
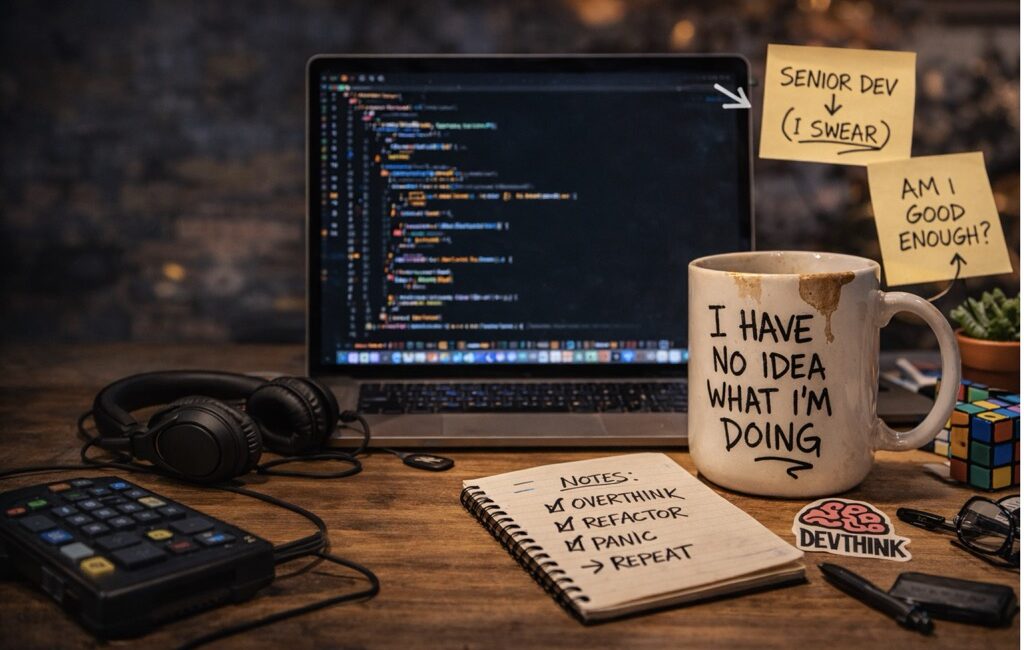
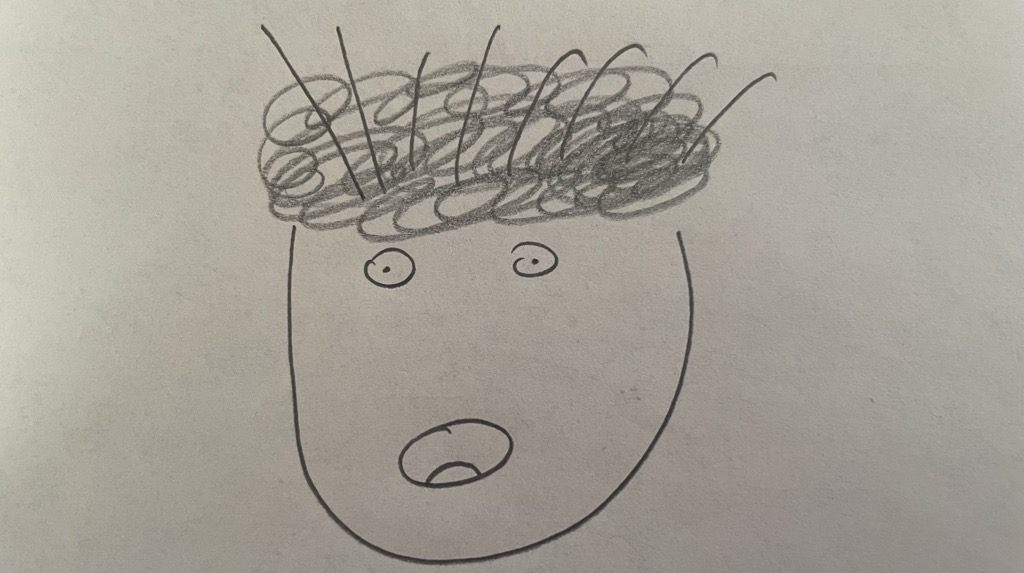
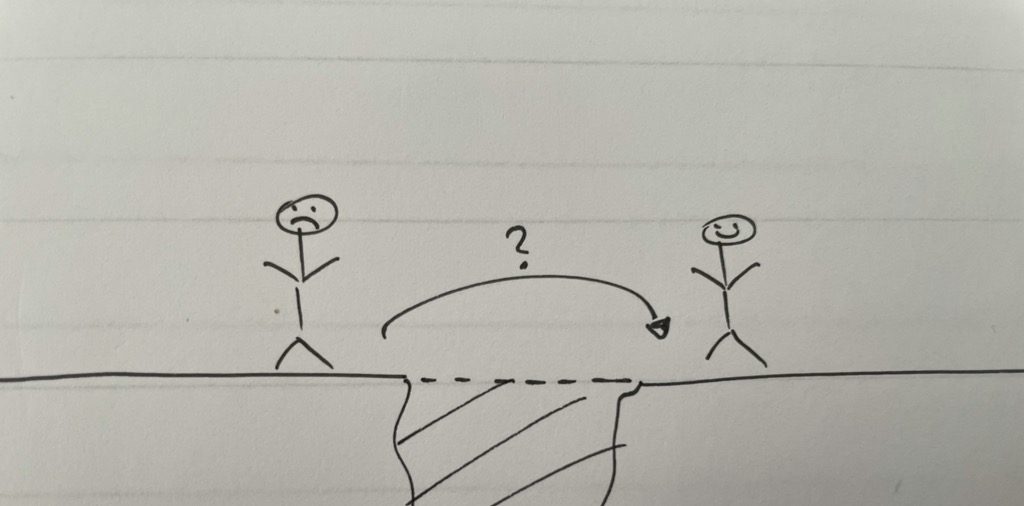
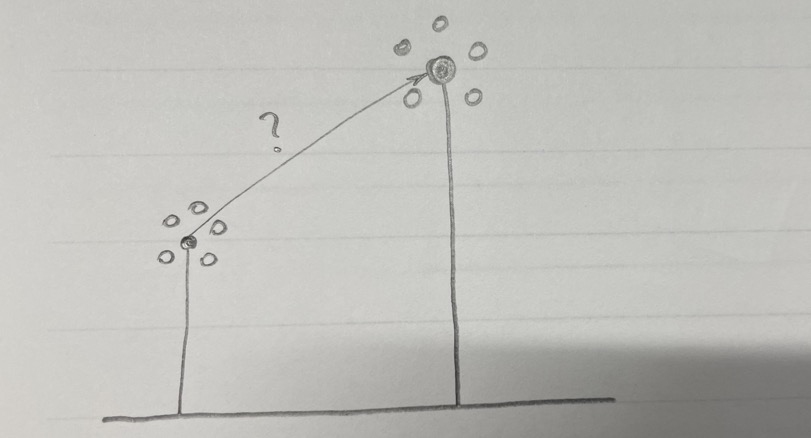
Let’s talk about something most developers feel at some point, but not many enjoy admitting out loud: impostor syndrome. You know the feeling: someone calls you a senior…

Let’s talk about improving one’s memory… No, not the RAM kind. Sadly, no extra gigabytes for your brain today 🤷♂️ The fun part? A lot of what looks…
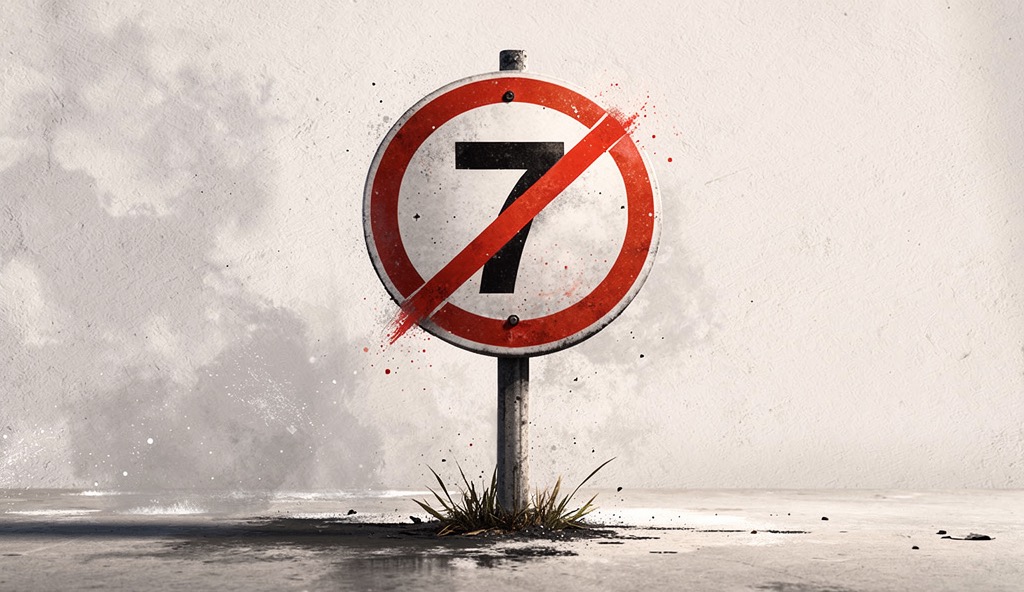
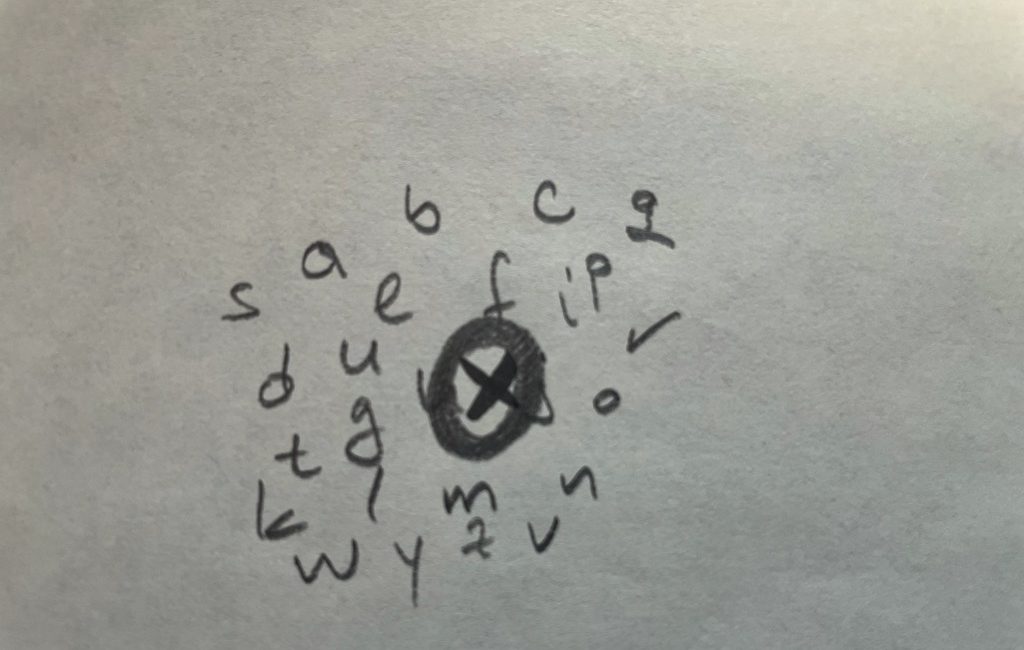
TL;DR I started using a simple rule: rate 1–10 without 7. Because 7 (for me) usually means one of these: meh I’m being polite I don’t want to…
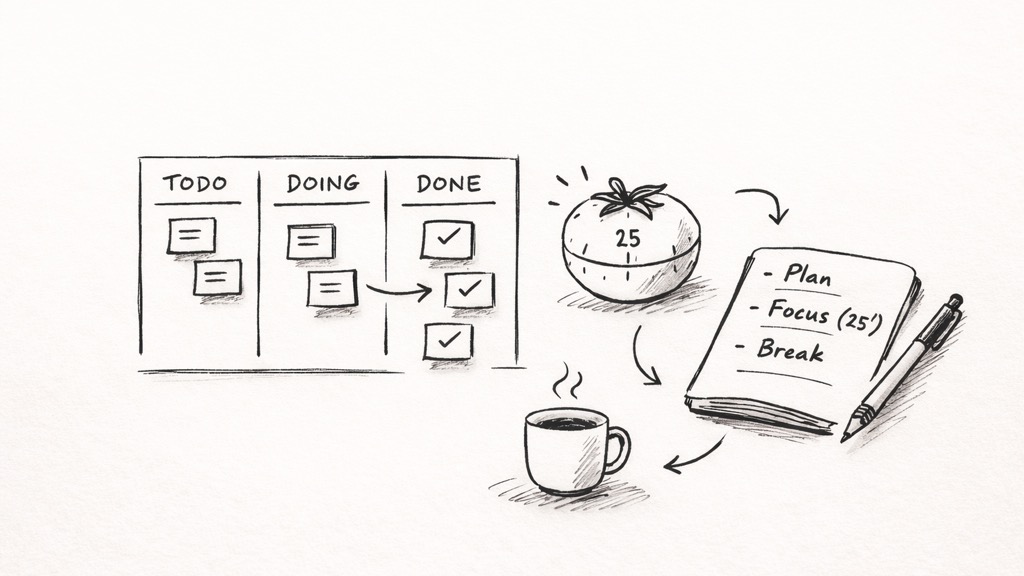
Sure, with all the AI tools we’ve become more productive (or so they say), but there are some old and battle tested techniques that will help you if…

TL;DR Why are we still using the QWERTY layout even if: it makes our fingers ‘walk’ way more miles for the same amount of written text (supposedly as…
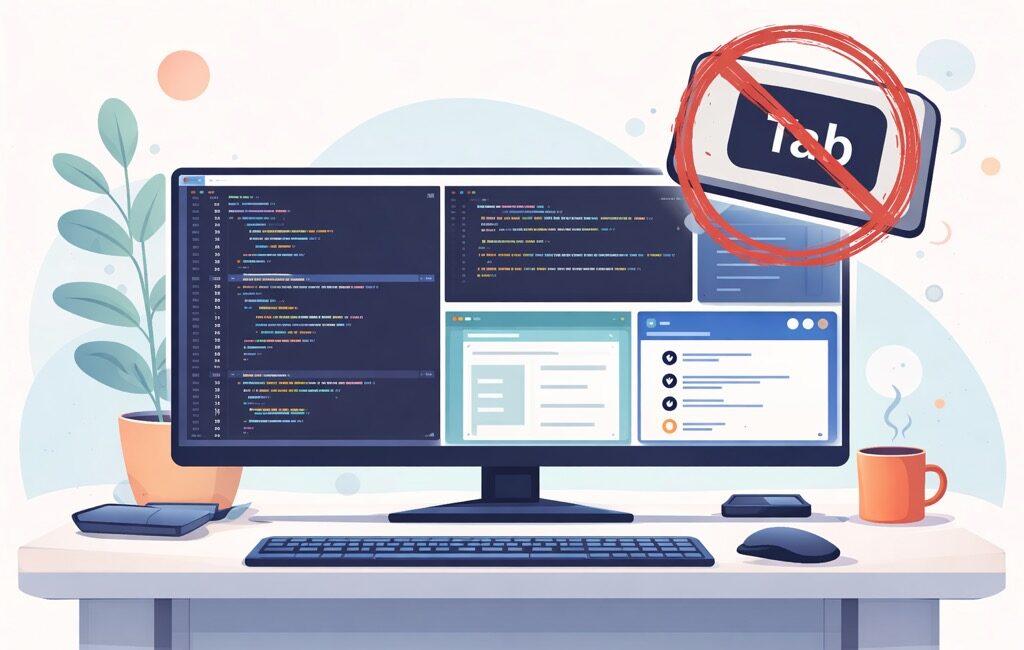
OK, I admit, this one is going to be weird. So, buckle up… Tabbing feels like it costs a second. It doesn’t. It costs your train of thought.…
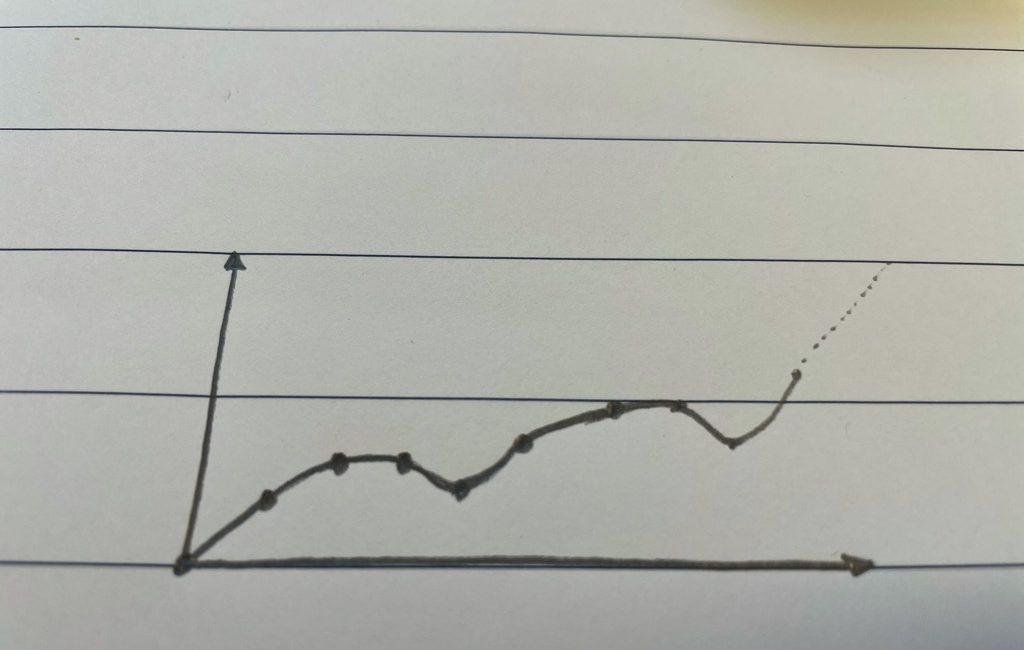
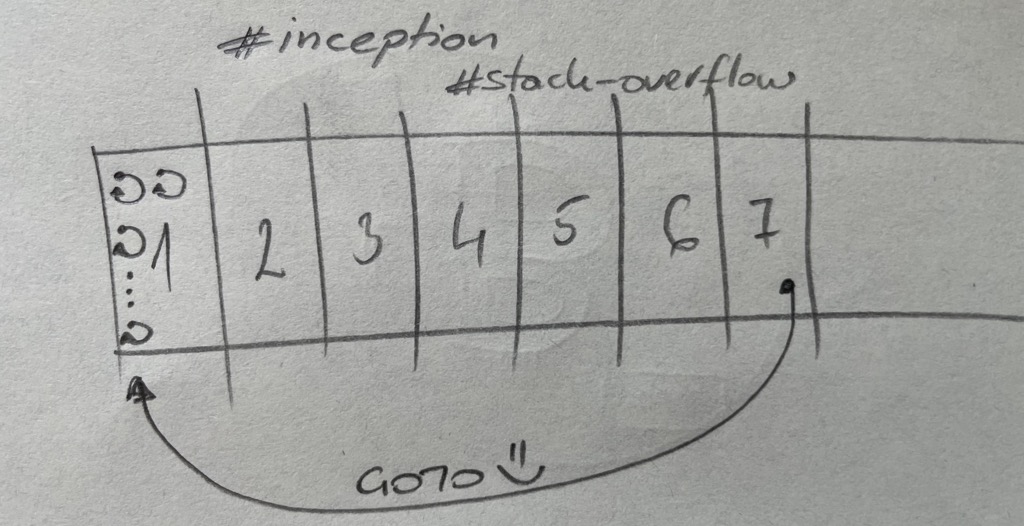
TL;DR By now, everyone has probably seen this (or a similar version) graph: So, let’s not dwell on it, shall we? It was nice (great even), when it…
TL;DR In software, daily learning is the real career cheat code. Use the Feynman technique to turn “I think I get it” into real understanding. Read less, summarize…
⚠️ I wrote this in 2016 (yes, 10 years ago), and never actually hit publish 🤦 I found it now while I was going through my drafts. What’s…
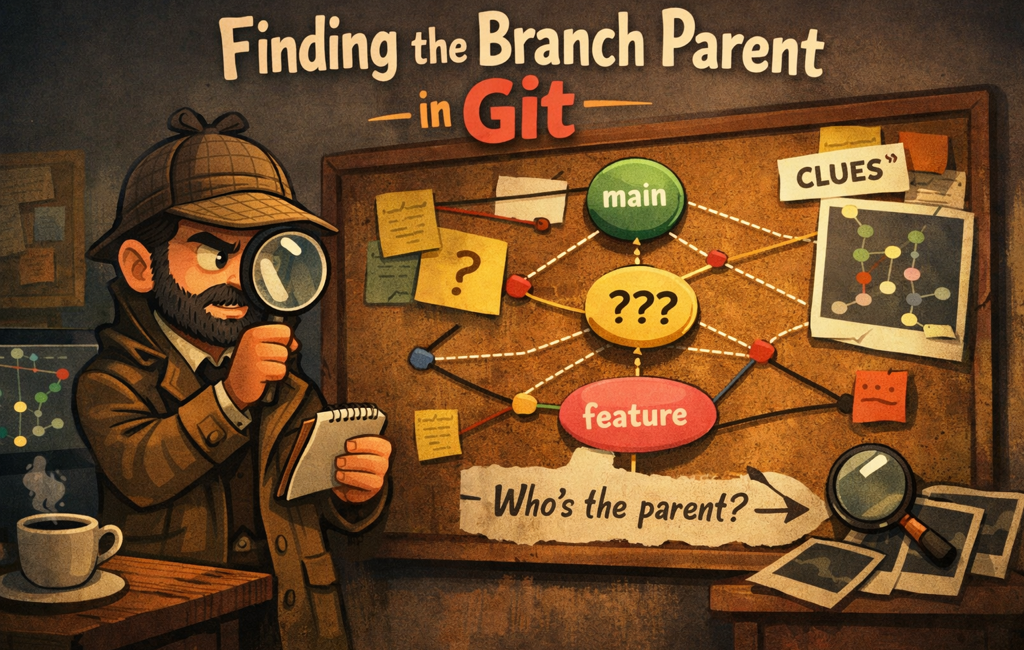
You know that moment when you’re staring at a branch named feature/whatever and thinking: "Cool… but what was this branched off from?" Maybe you’re cleaning up old branches,…
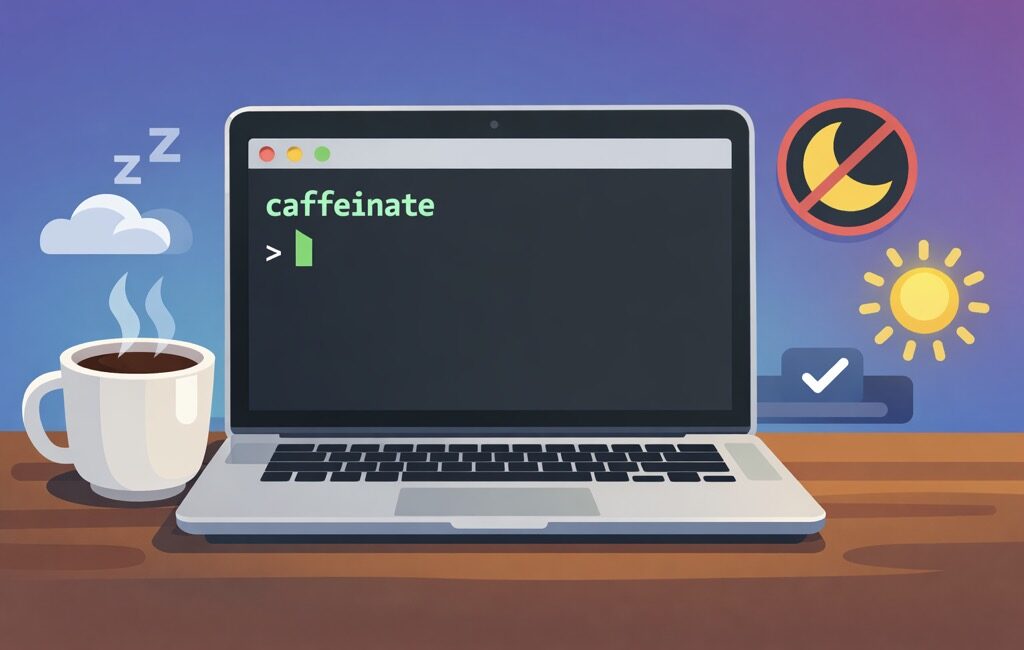
TL;DR I’ll show you how to use macOS’s built-in caffeinate command to keep your Mac awake: until you stop it for a set amount of time, or only…
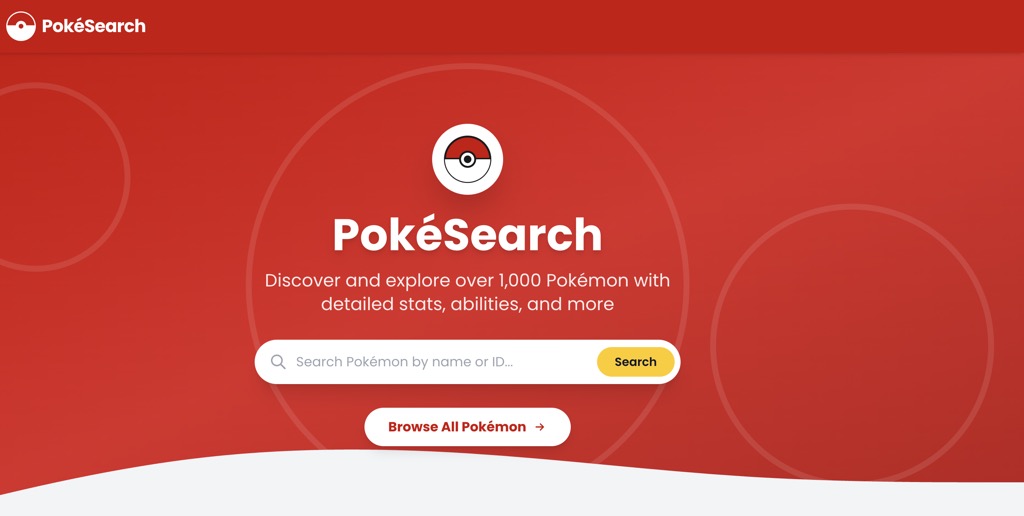
TL;DR We’re going to build a Pokémon search app. But we’re not going to write even one line of code. 🤨 I know, coming from a developer (who…
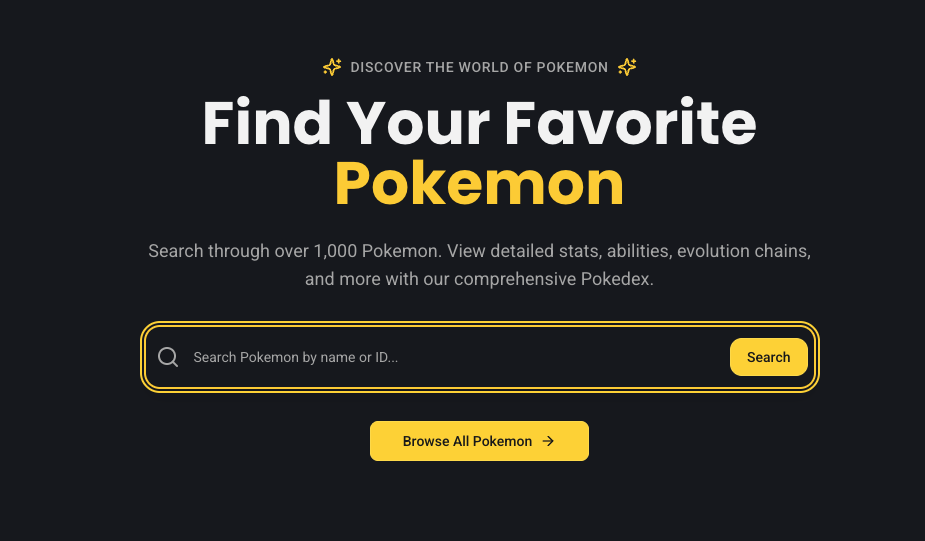
TL;DR We’re going to build a Pokémon search app. But we’re not going to write even one line of code. 🤨 I know, coming from a developer (who…
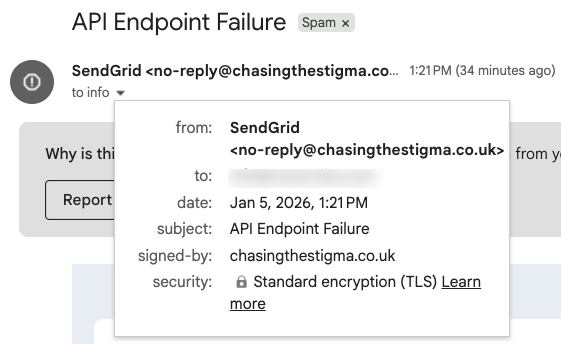
TL;DR Over the past few days I started getting a bunch of weird error emails in my inbox from, what seemed to be, SendGrid. The subjects all looked…
TL;DR Here’s a very long list of retrospective questions which, if used wisely and seldomly (at least twice per year; at most monthly), can help you spot patterns…
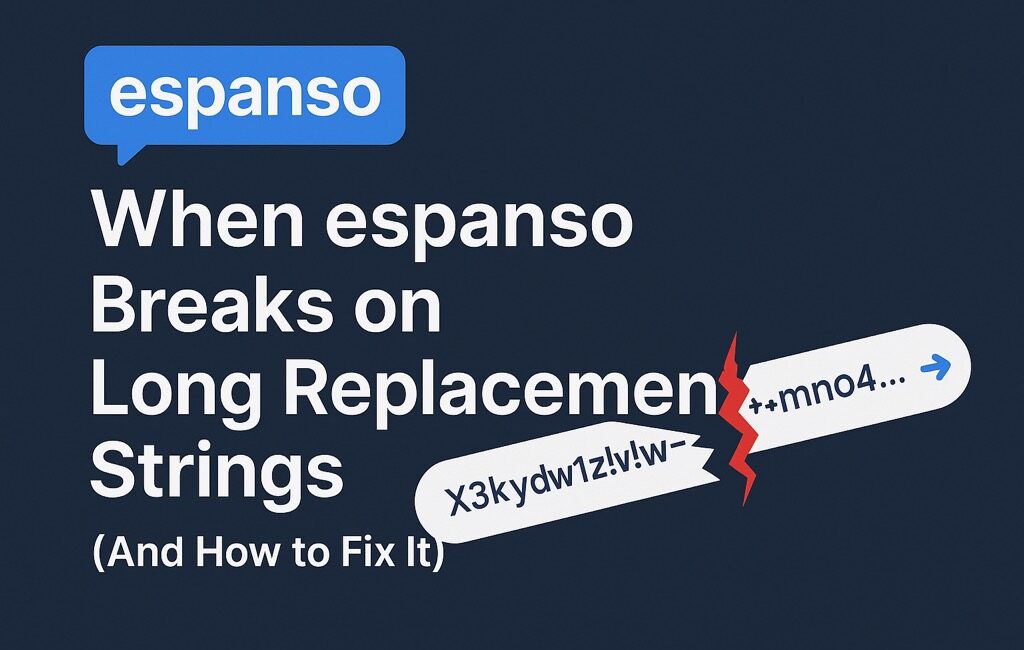
When espanso Breaks on Long Replacement Strings (and How to Fix It) Hey friends 👋 Today’s post is a quick one, but it might save you from a…
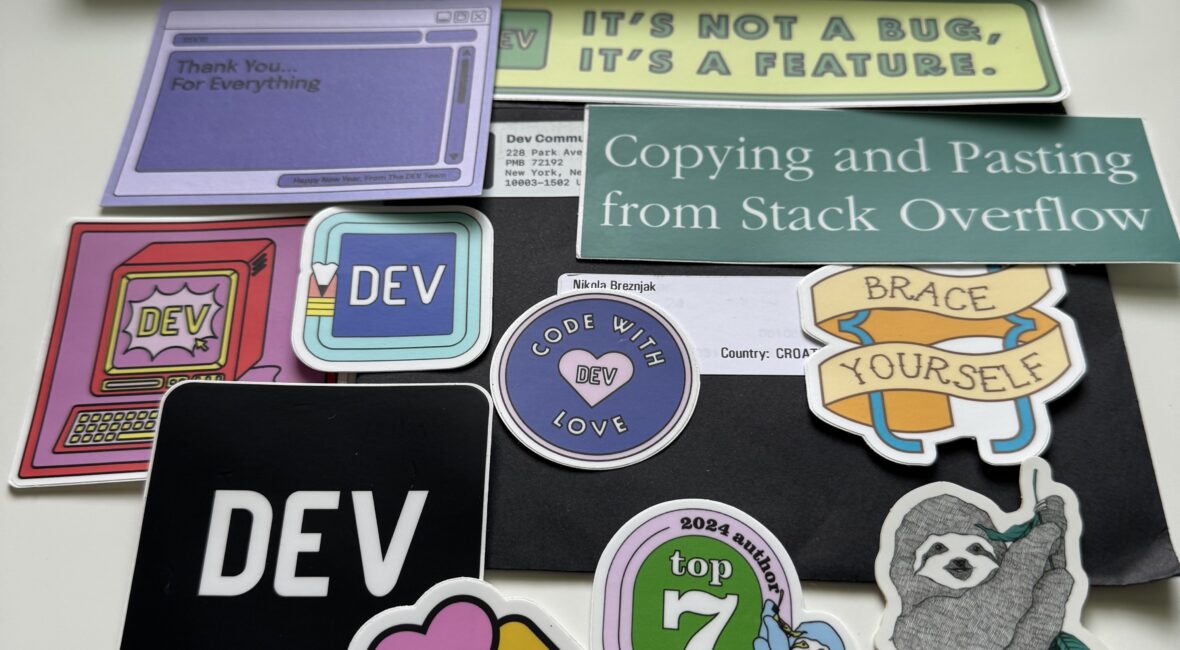
…was pleasantly surprised to receive this in the mail today. Yes, snail mail 🙂 Thanks to dev.to for being thoughtful. The post that got me the top author…

"Hara hachi bun me", a Japanese concept which means "Eat until you’re 80% full". While intuitive, it’s sad that one needs to be reminded of it.

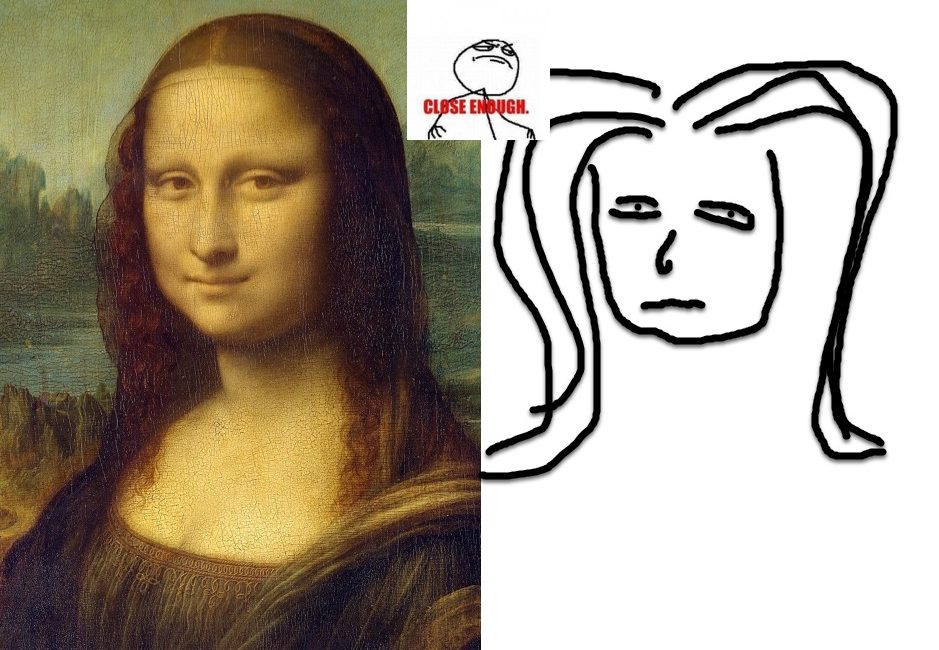
Those who say talent doesn’t matter are liars. Those who stop at talent are failures. Federer said it best: Yes, talent matters. I’m not going to stand here…

Isn’t it interesting that we often make our best score when we’re not trying to make the best score? However, there’s something to be said about the fact…

If all you do is succeed in each and every thing you do, you just may not be pushing yourself enough. Failure reveals your true character. James Clear…

It isn’t easy to start a new (better?) habit, routine, diet, relationship. Yet, it’s not the history nor the events that shape our future the most, it’s the…

Do you feel you’ve given your everything? Do More. It’ll pay off in abundance in due time.

If the only thing you got from reading the book is one new/affirmed idea, it was very much worth your time. Multiply that idea by the number of…
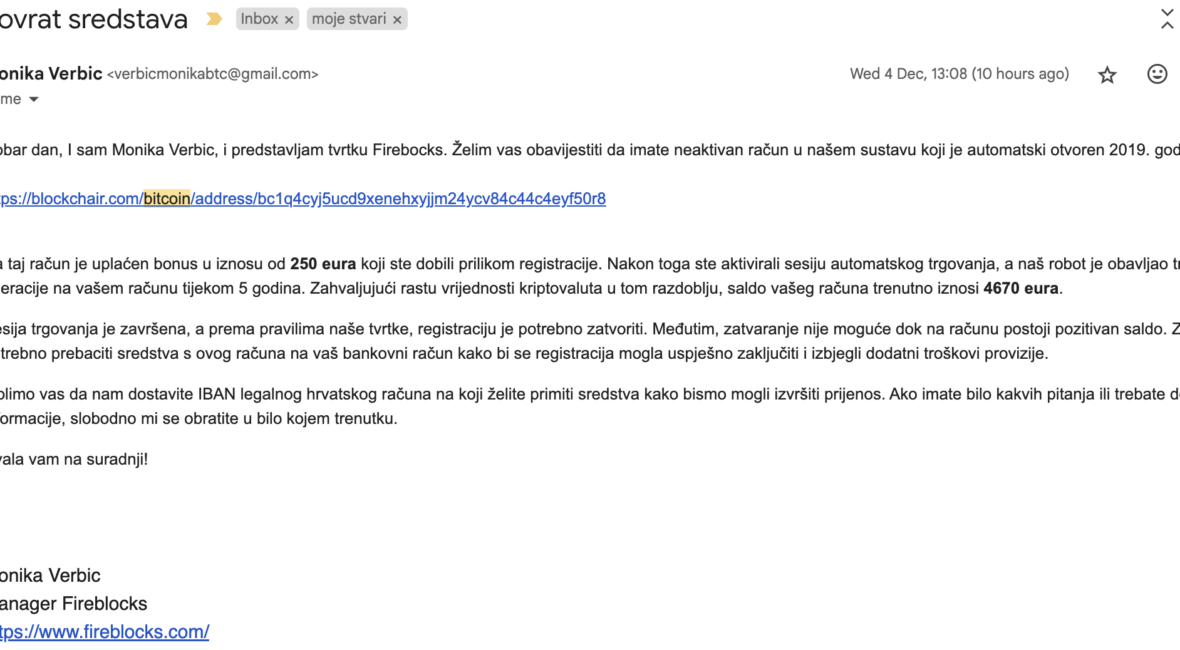
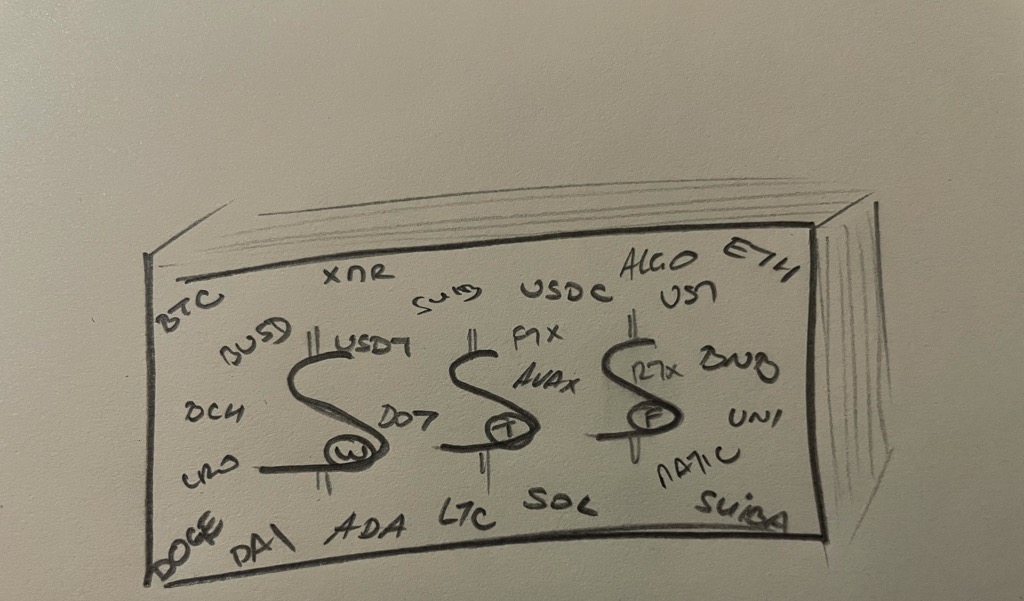
TL;DR Beware of the crypto scams. Here I’m just sharing one that I just got from a site I never even heard of. Still not clear what could…
TL;DR In the previous tutorial I showed you how to get started with Vue.js 3 by building a Pokemon search application. I’m going to do the same here,…

TL;DR Espanso is a text expander tool that will save you lots of repetitive typing. For real. Ever had to repeatedly type your email address into a form?…
TL;DR In the previous tutorial I showed you how to get started with Vue.js 3 by building a Giphy search application. That was a long while ago 🙂,…
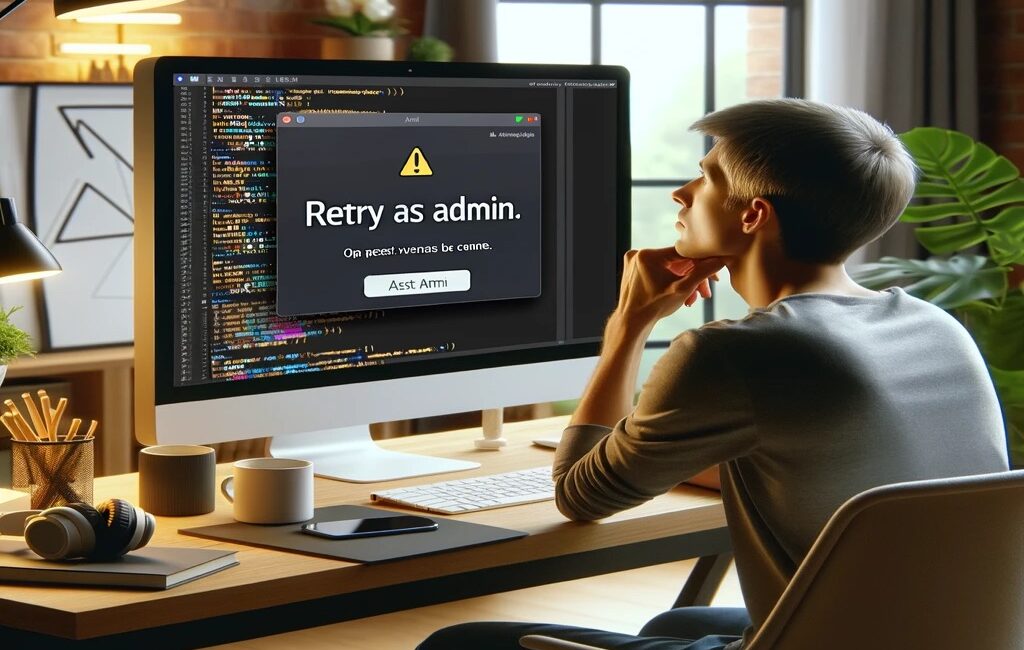
TL;DR If you ever get an error that you can’t save a file in Visual Studio Code, and it prompts you to ‘Retry as Admin’ (where you then…

TL;DR A new phishing scam is targeting OpenSea users through email. Exercise caution and stay vigilant. !TL;DR I recently encountered an email that surprisingly bypassed my spam filters.…
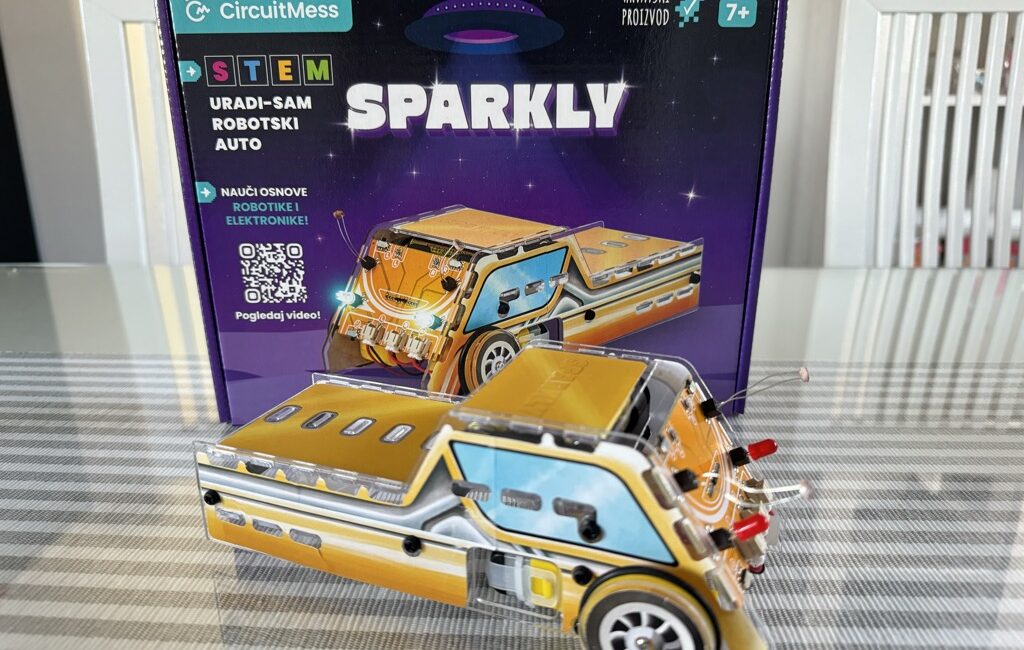
⚠️ Disclaimer: This post isn’t sponsored—I’m just a fan of the product. I recently encountered a small hiccup (probably my own doing) with my Sparkly toy and wanted…

TL;DR This is the second part of the "This is How Your Parents Used to Build Websites". The first blog post is here. Now, if you thought our…

TL;DR Hey future web wizards! Are you ready to embark on your journey into the vast world of web development? This post is your beginner-friendly guide to HTML.…
I loved the book 59 seconds by Richard Wiseman that I first came across in Tools of Titans. Here are the top 10 most interesting studies the autor…

Here are my highlights from a book Amp It Up by Frank Slootman broken down to a few key takeaways. Raise Expectations and Intensity "Raise your standards. The…

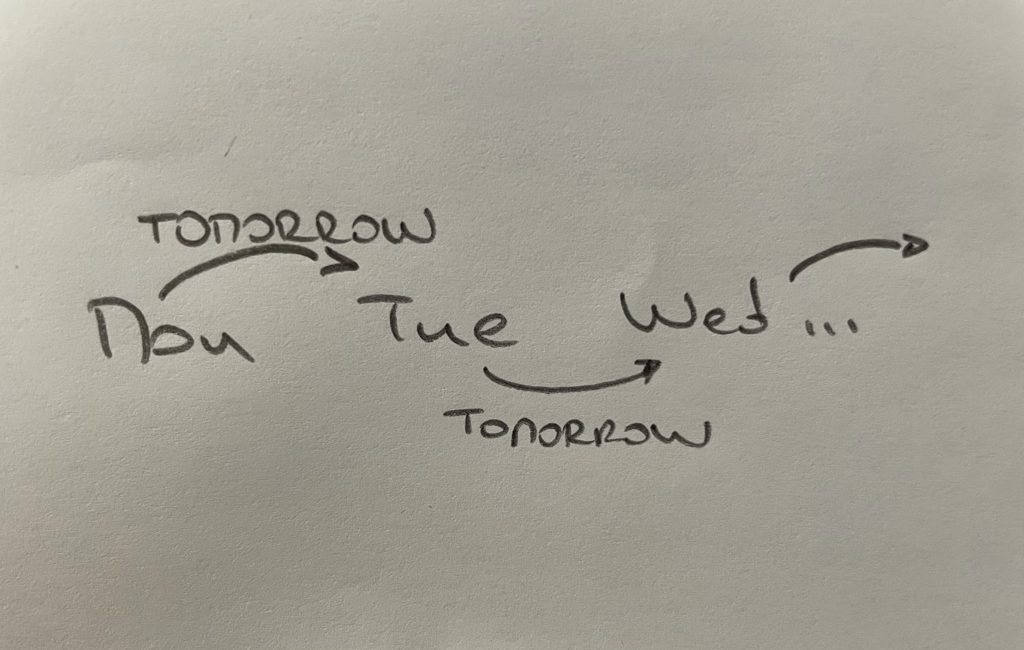
TL;DR Hey there and happy Wednesday* 👋 *a day on which, historically, most people wed on; thus: Wed nes day Not really, but it would be a fun…

Here are my highlights from a highly recommended book Tools of Titans by Tim Ferriss, broken down into few sections. Just as a note for myself; of all…
TL;DR In this post, I’ll share the infamous 8Questions™ that we use when onboarding a new team member. Each person sends the answers to these questions in a…
TL;DR I was trying to automate my manual process of logging into ASC (App Store Connect) and taking a screenshot of the crashes, and preparing a report that…
I get it. Sometimes it’s just hard. Like, legit hard. To do. To do what? Well, really, anything that’s not easy. You’re just stuck. You need a break.…

No matter the level of achievement in external things, mastering oneself is the greatest one. This is why I write these ‘daily thoughts’ posts.
Learning to write well is a skill that will come useful no matter the industry. This is why I write these ‘daily thoughts’ posts.
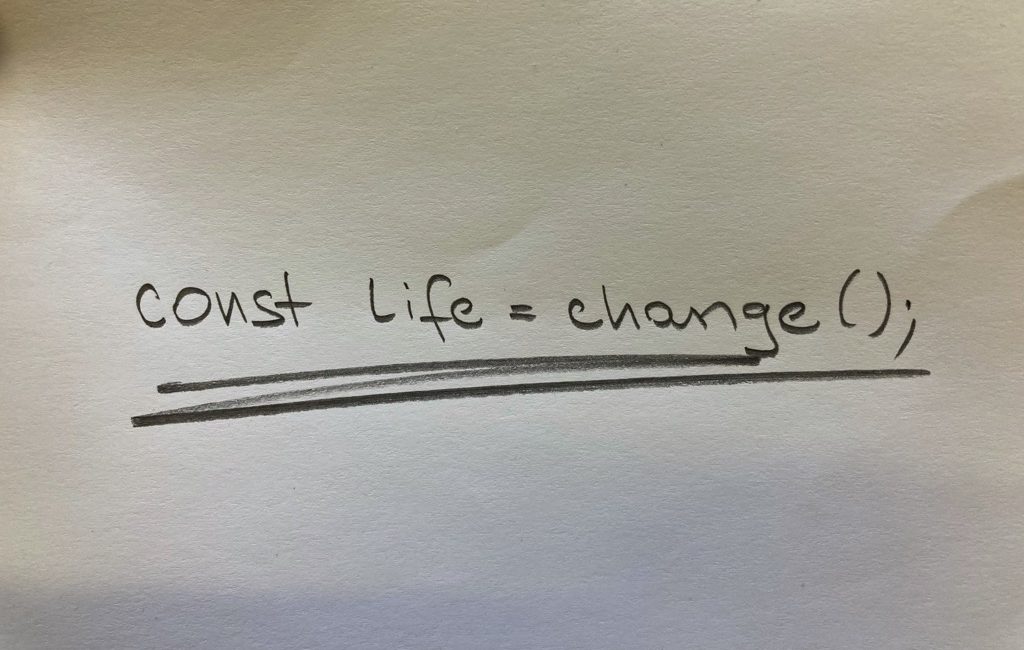
They (supposedly, originally, Heraclitus) say that the only true constant in life is change. A JavaScript programmer in you might write that like this: const life = change();…

In the case of an air pressure type emergency on the ✈️, before helping others you should put the mask on first. The same goes for helping others…
This may come as a shock to learn that (as reported here – and there are many similar reports, just Google them): Fewer than 1 in 100 stroke…
Filter bubbles have a task to keep you engaged consuming instead of increasing your education or quality of life. This is why I write these ‘daily thoughts’ posts.
Don’t expect much from x, if you’re just half-assing your commitment to it. Whatever the x may be. Go all in! This is why I write these ‘daily…
Social media is all but making us social these days. This is why I write these ‘daily thoughts’ posts.
It would be an interesting experiment to let every person on this planet win a lottery and see which behavior it amplifies in them? This is why I…
Even when I wrote that we seemingly haven’t learned anything, and that the war should never be the solution, I still didn’t believe that it would come to…
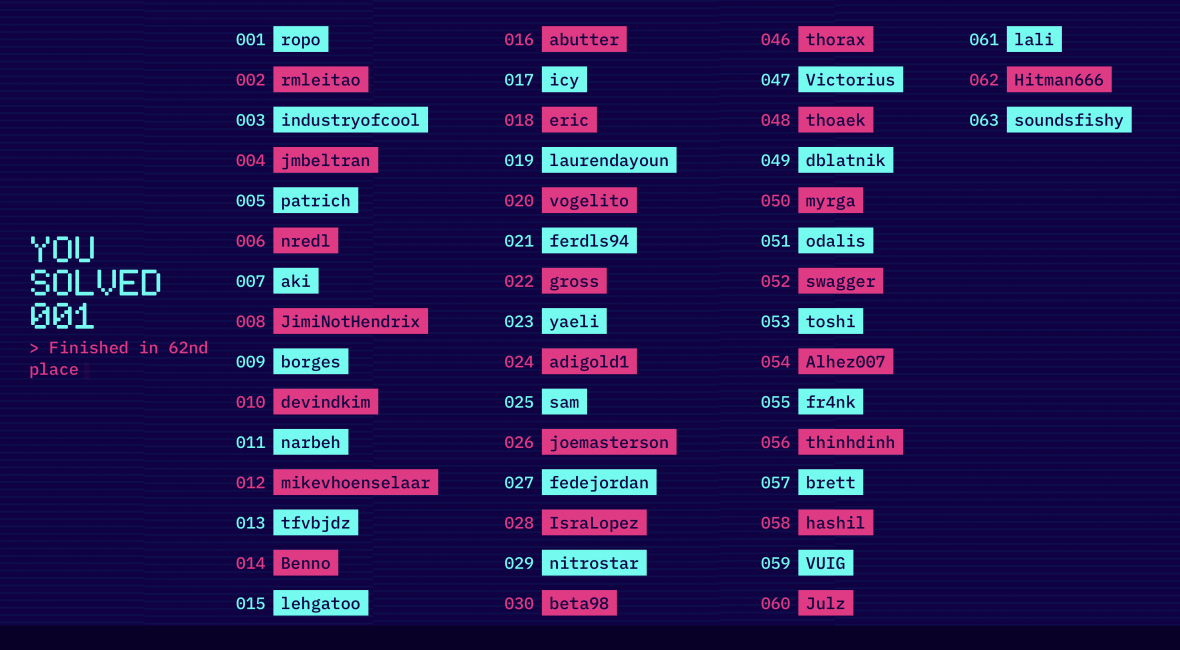
TL;DR Today marks 5 years of me being on dev.to. In general, I gotta say that I like the community (I just got this nice badge, so what’s…
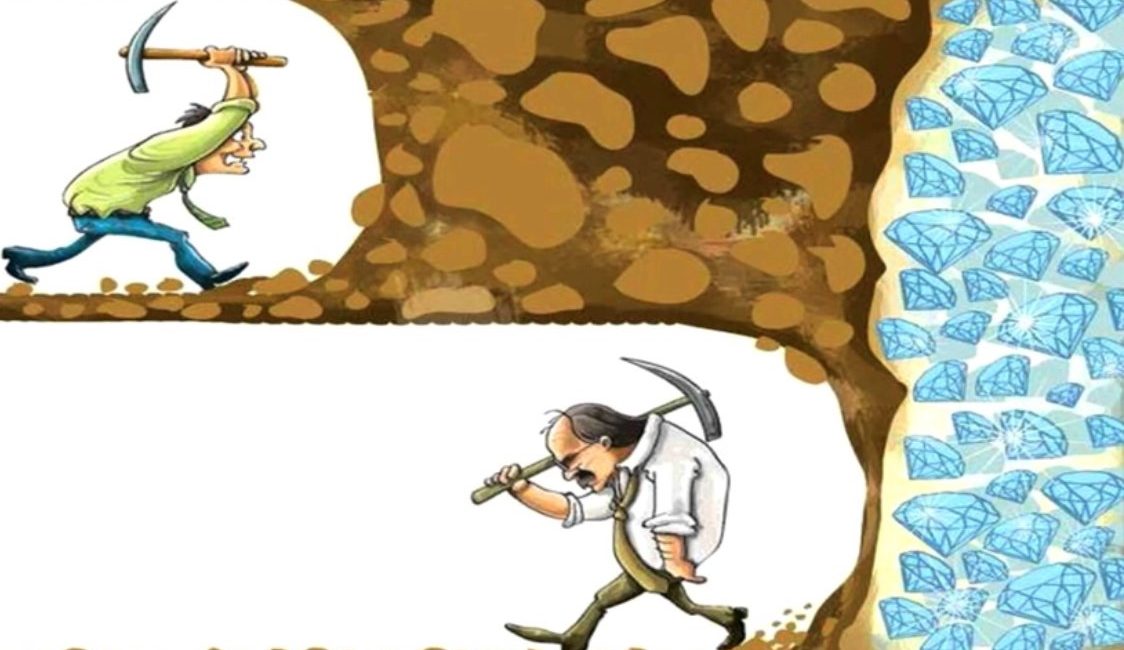
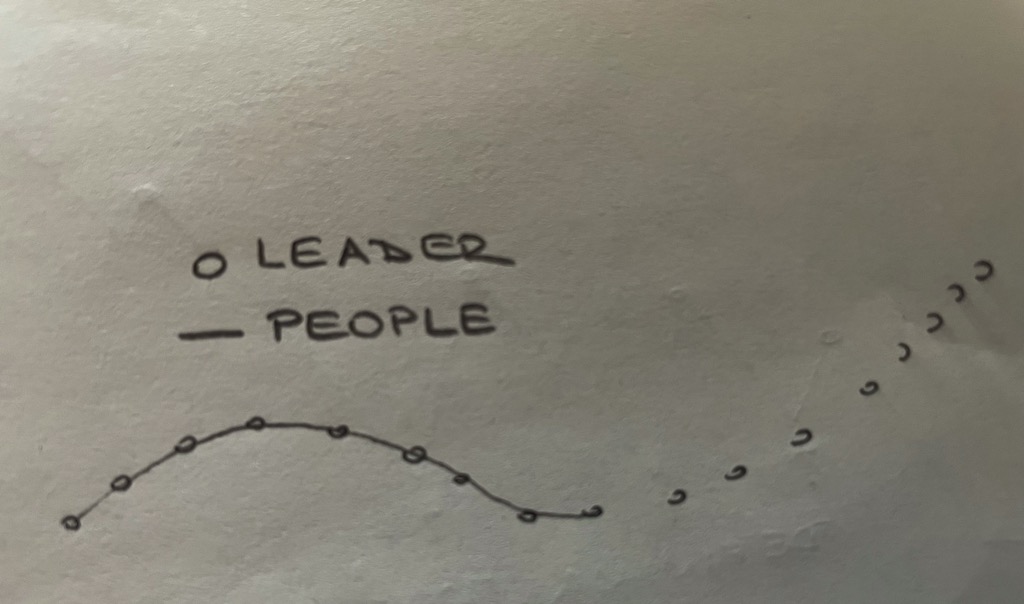
There are multiple quotes around perseverance (and images similar to the one in the post), and I’m all for it because I tend to believe most people give…

The greatest day in your life and mine is when we take total responsibility for our attitudes. That’s the day we truly grow up. ~ John Maxwell This…

All of us that were privileged/lucky/pick_your_word to be born in favorable conditions (country, family, time in history, etc.), we should be grateful and reciprocate. This is why I…

In the future we’ll need people that teach us how to be happy. Come to think about it, that future may already be here. This is why I…
Why are there a lot of new self-help books still being published every day if everything was already written? Maybe the newer ones speak better to newer generations…
Knowing does not guarantee doing, and that’s a good thing! Every pro knows how he has to hit the ball; ‘just’ swing the club. They are using visualization…
In your chase for X, which Ys are you neglecting? This is why I write these ‘daily thoughts’ posts.
Can’t remember when was the last time that I got so drawn into the story like with the book I’m reading right now called “A Town Called Discovery”…
I wrote about haters and my suggestion to them. However, when someone is just not letting go, then you need to be wary of two things: 1) don’t…
This sounds like an oxymoron, but you should always strive for more and be perfectly content and grateful for what you currently have. This is why I write…
Early in life you should probably strive for quantity (beware of any excess though), and tilt toward quality as you mature. This is why I write these ‘daily…
There’s a saying that those who do not learn from history are doomed to repeat it. I fear we haven’t learned much, and are seriously toying with the…
War should never be the solution. This is why I write these ‘daily thoughts’ posts.
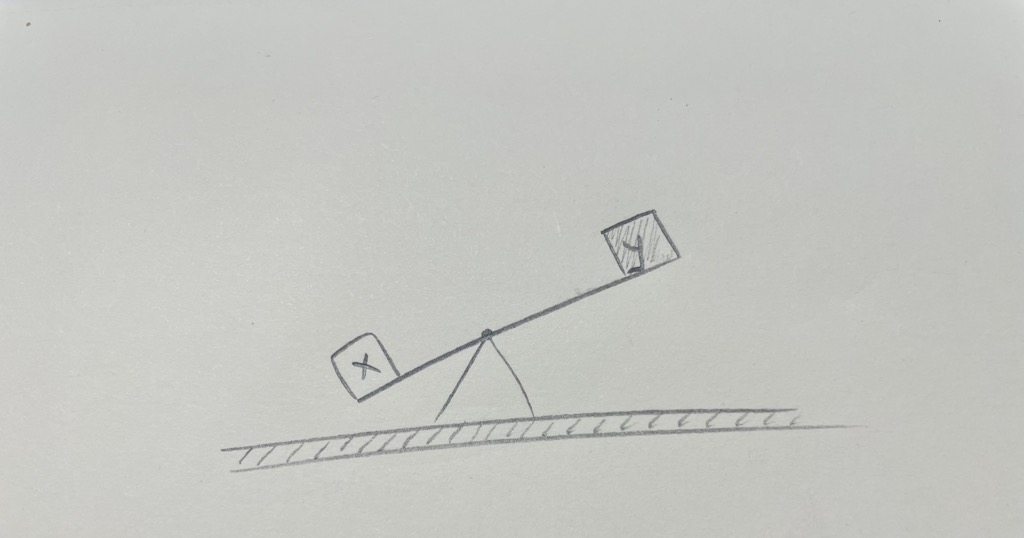
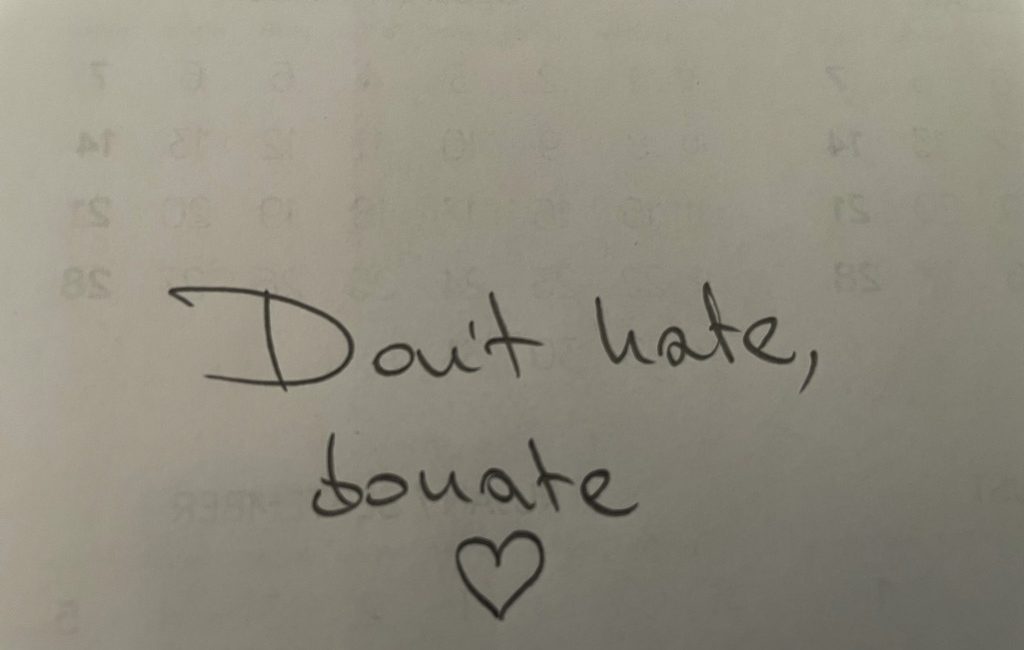
Don’t hate someone who’s willing to go the extra mile. Join them and become best friends because it’s lonely at the extra mile. This is why I write…
If you do something and then blame circumstances, upbringing, genes (!?), or really anything else other than yourself, are you really free? We can’t change what happens to…
Anomalies aside (crypto millionaires, anyone? 🙂); if you don’t work over the weekends (yes, plural) at some point in your career, you’ll end up working for someone that…
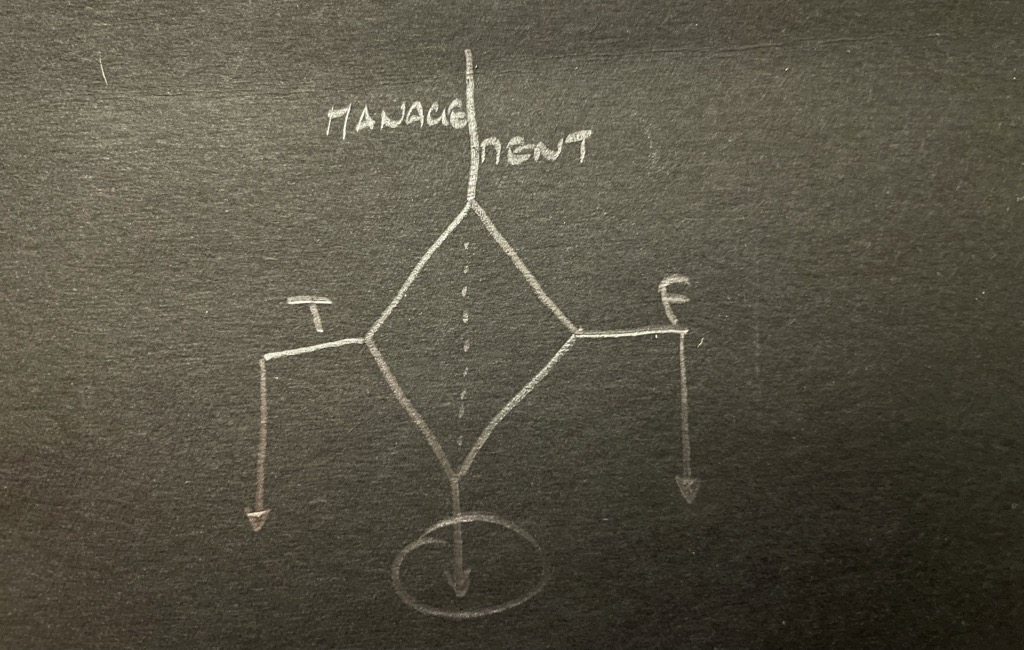
In people management, things are never black or white. Mostly grey, in more than 50 shades. Make sure you hear both sides of the story before making any…
If you want to learn about yourself, do a retrospective at least once per month. Journaling will help. This is why I write these ‘daily thoughts’ posts.
Before you demand more from other people, show how ‘more’ looks like. This is why I write these ‘daily thoughts’ posts.
Welcome failure in your life, but be wary of its two-edged blade. Make sure you learn from it and grow, instead of falling into self-pity and never getting…

Too much is never enough. On average, we have more than we need. When you’ve covered all of Maslow’s needs, and you start to yearn for more, that’s…
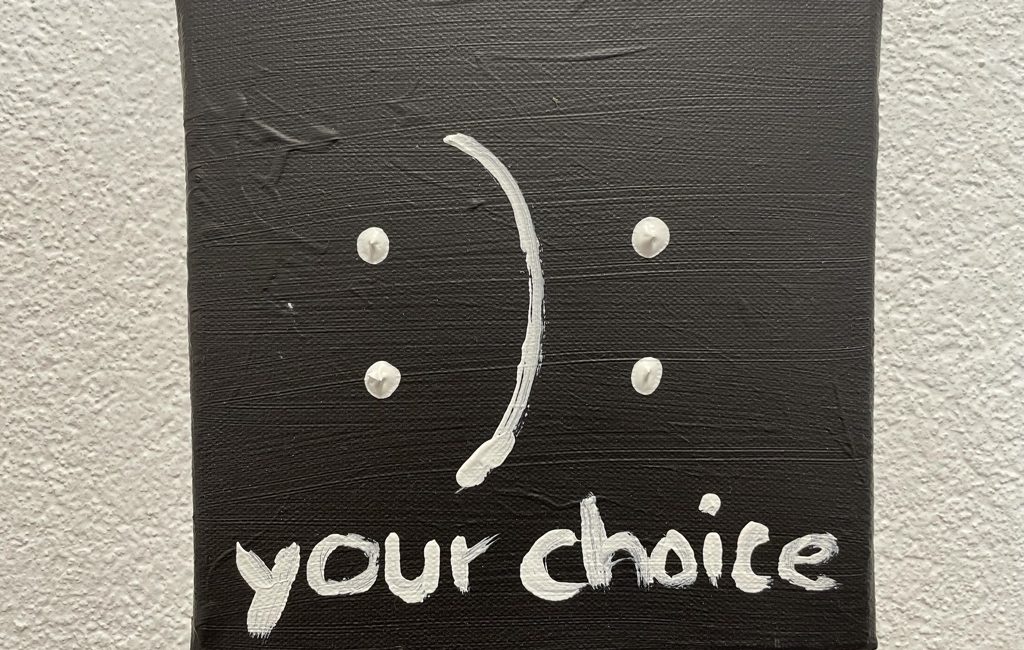
What if you’re the one who brings a happy face to every interaction? How much would the quality of your life change if only 0.5% of the people…
Don’t be afraid to not finish a book. Reread the good ones. This is why I write these ‘daily thoughts’ posts.
You’ve probably already heard that time is your most precious token. No, I’m not talking about crypto here – although, funnily enough, there’s also a token named like…

What if you stopped watching TV? More specifically ‘news’ on the TV. I don’t have anything against an occasional movie or a show (hell, I do it myself),…
WAGMI – We’re all gonna make it. But, haven’t we already? I mean, think about it: if you were able to buy (any) crypto thing (coin, token, NFT,…

Because there’s so much noise today, people pay for common sense – which they could have come to on their own if they only employed their brain. This…
Brian Tracy popularized the term “Eat that Frog”. What that means is that if you want to truly move the needle day in day out, you should start…
To-Do lists are great. It doesn’t matter if it’s on paper, in a native app, or a web app, or a hybrid app (anyone still remembers those? 🙂),…
Giving without expecting something in return, or having a plan for why you’re doing it, is one of the nicest feelings. However, as a bonus, in the long…
With all the recent market ‘developments’, I couldn’t help but think: Dear #crypto, I’m back to #sportsbetting. There I can at least see and yell at the culprits…
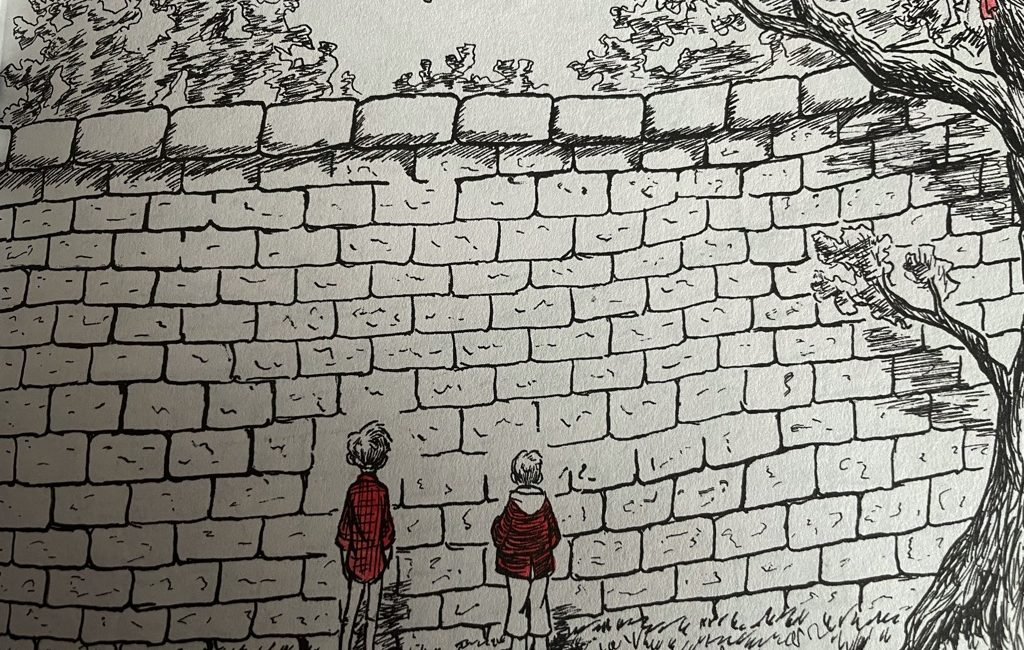
Today’s thought is not originally mine, but a quote from an amazing (short, beautifully illustrated – I mean, just check the featured image, and thought-provoking) book by, a…
Self-improvement without gratitude and humility is just another form of feeling superior over others and boosting one’s ego. This is why I write these ‘daily thoughts’ posts.
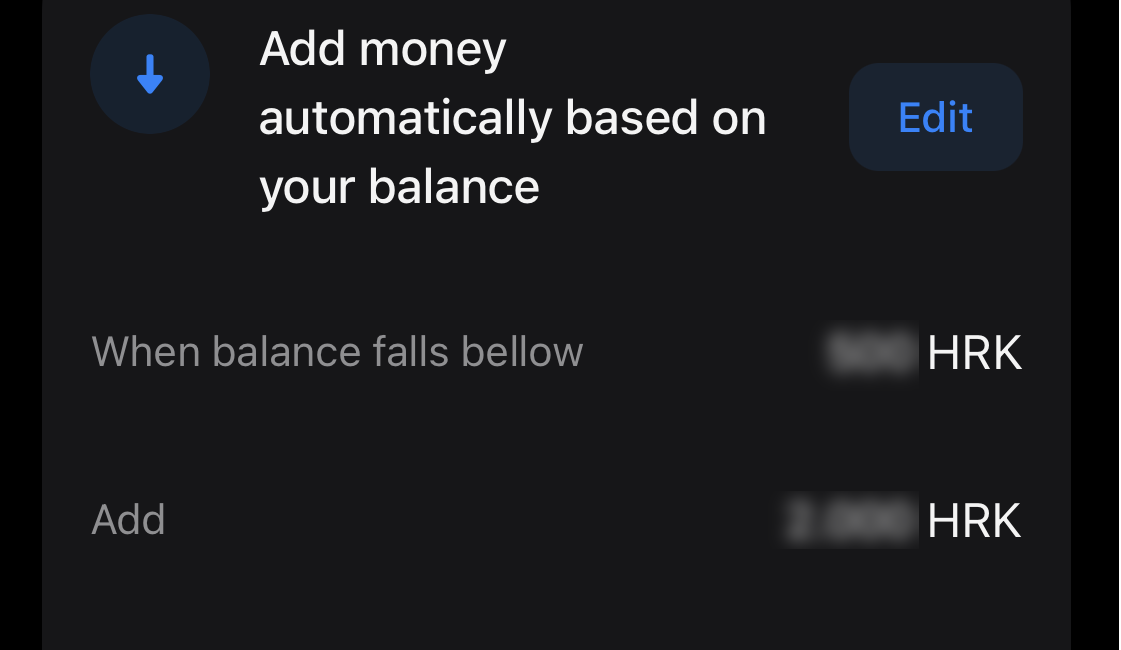
Setting up an automatic top-up is simple because it’s offered as an option when you, well, top-up. However, editing an existing one is actually not as straightforward as…

Put the damn phone away when you’re supposed to be having a conversation with someone in person. Some love talking about conspiracy theories and how ‘someone up there’…
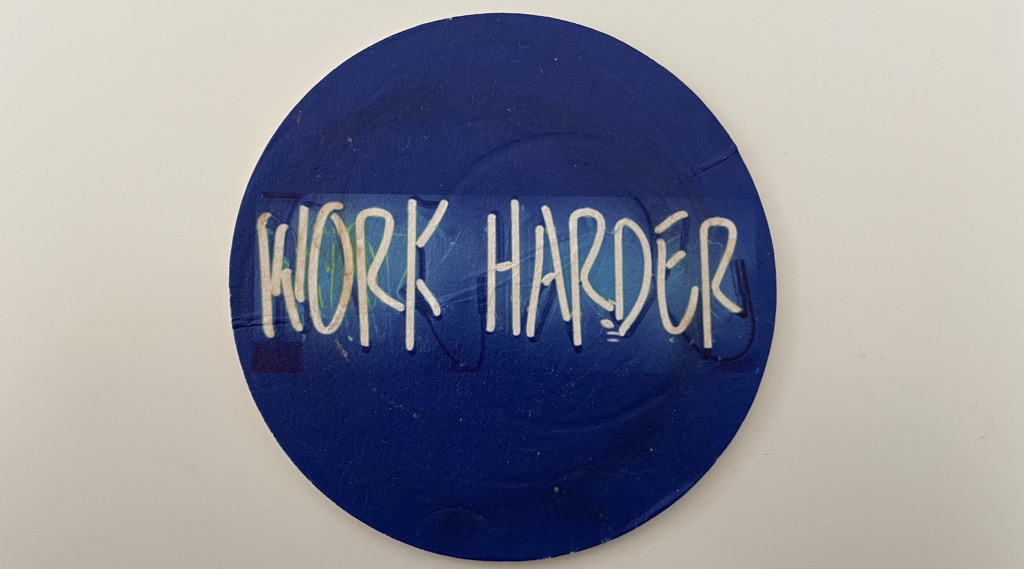
Work hard and go the extra kilometer (miles are overrated 😉) even if there’s nothing in it for you. You’ll learn that’s easier to do when you actually…
At what point do you give up? I’m not thinking about the average “do only what’s necessary” folks. I’m thinking about the people that have the drive. Those…
Jim Rohn said it nicely: “We must all suffer from one of two pains: the pain of discipline or the pain of regret.”. And the thing is, one…
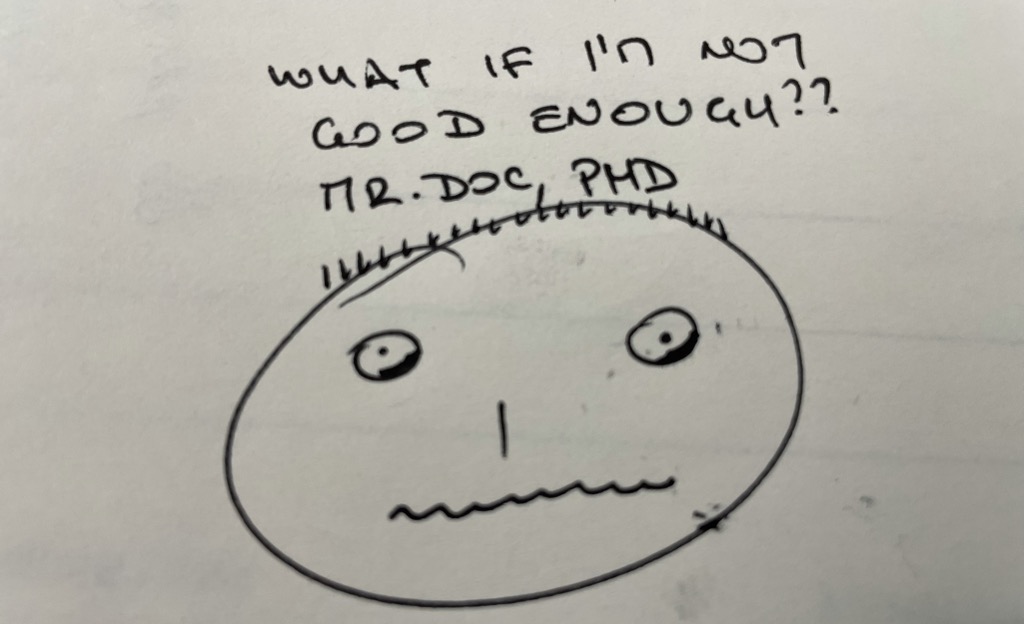
If you don’t learn (through some form of introspection) how to deal with the imposter syndrome, you’ll never reach your max potential. I discussed this topic in length…
Seems like not much has changed since Juvenal said this. The bread was upgraded to unhealthy mixtures of salt/sugar/fat that make you crave for more, and the games…
If you spend 1 hour a day reading, you’ll read more than 60 books in a year (here’s the math that proves that). What if you get only…
Besides your undivided attention when you’re with them, and above else the actual quantity of time that you’re with them, what you should give to your children is…
You control what you think and do, not what happens to you. Life will, hopefully, throw challenges your way. From them, you will either learn and grow or…

You either do something or you don’t. You either say something or you don’t. If something’s bothering you, you should speak up. If you don’t, then you don’t…
John Maxwell said, and a lot of others agree: “You will never change your life until you change something you do daily. The secret of your success is…
Jim Rohn said that you’re the average of the five people you spend the most time with. Looking at my own life, that’s both true and shocking at…
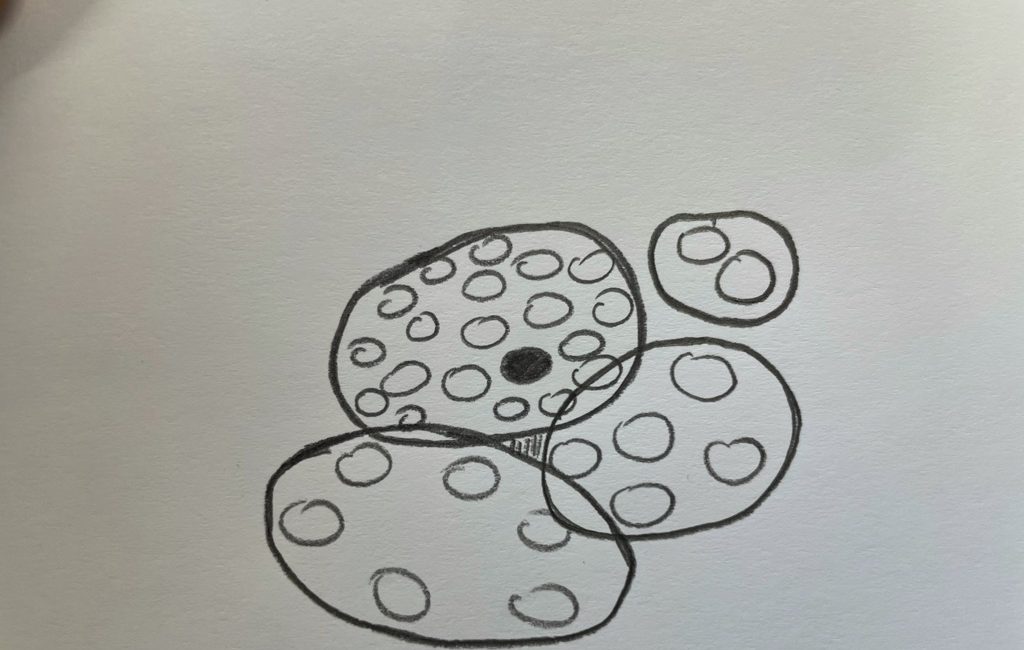
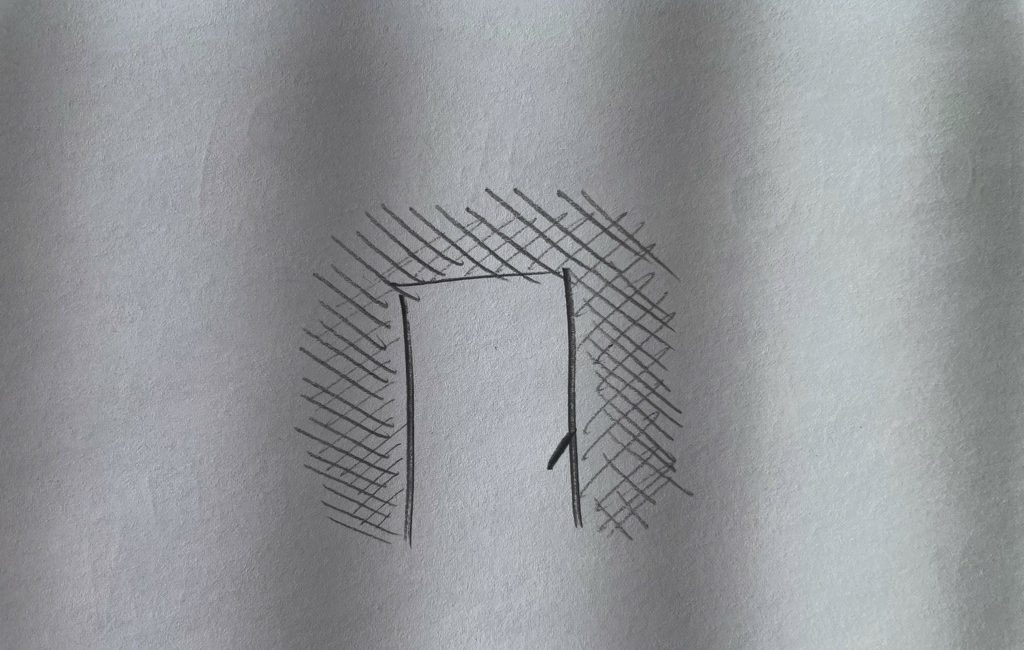
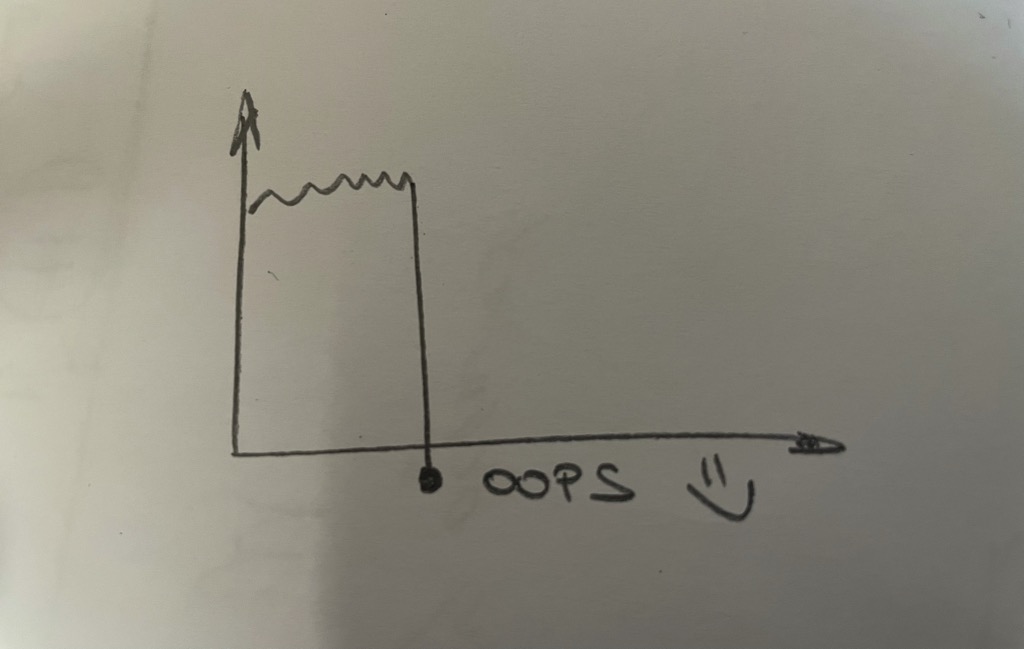
Why financial literacy isn’t taught in school? P.S. I know, the drawing looks like a kidney. And no, the joke is not lost on me 🙂 This is…
I found many forms of this text online, and here’s one version of it: Imagine being born in 1900. When you are 14 years old, World War I…
There’s no such thing as x-y balance in one particular moment. You can focus, truly focus, on one thing at a time. Balance is achieved on a longer…
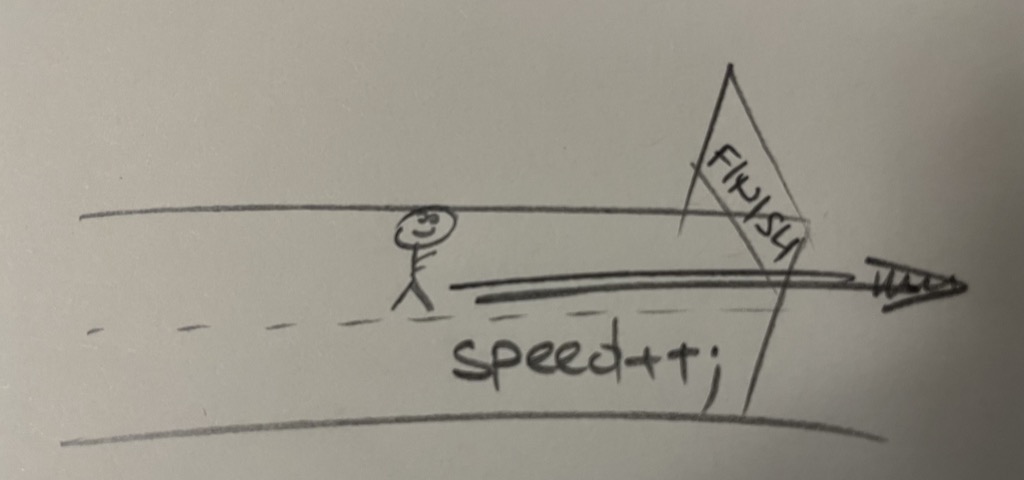
Sprint through the finish line. Don’t slow down before the finish line. Finish strong. This is why I write these “daily thoughts” posts.
Positive thinking is underrated. Give it a go for a month and decide for yourself. This is why I write these “daily thoughts” posts.
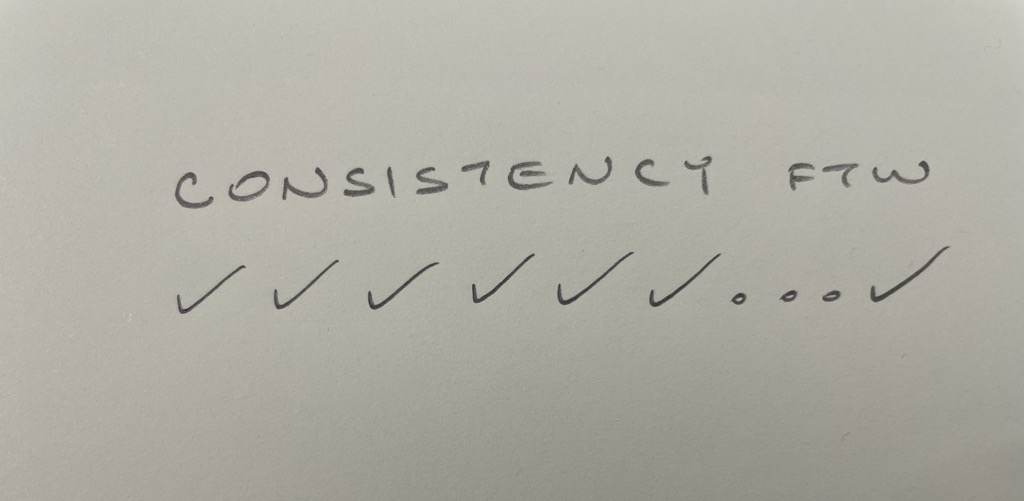
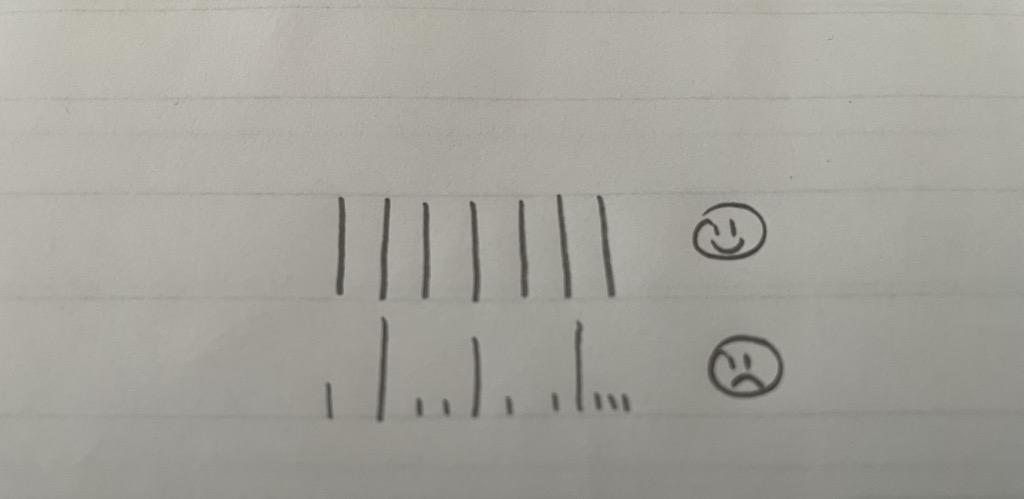
It is way easier to do something 100% of the time than < 100% of the time. I first came across this concept in the book How will…
In this new “Daily Thoughts” series, I’m just scratching my own itch. For too long now I’ve been reading and consuming. Not that there’s something inherently wrong with…

What if NFTs are the next best thing? What if NFTs are just another version of ICOs in 2018? What if, what if… Either way, stay curious and…

Journaling is unexpectedly useful (especially in retrospectives). No special form is needed. A good idea is to start with a sentence about what you’re grateful for. [DT]
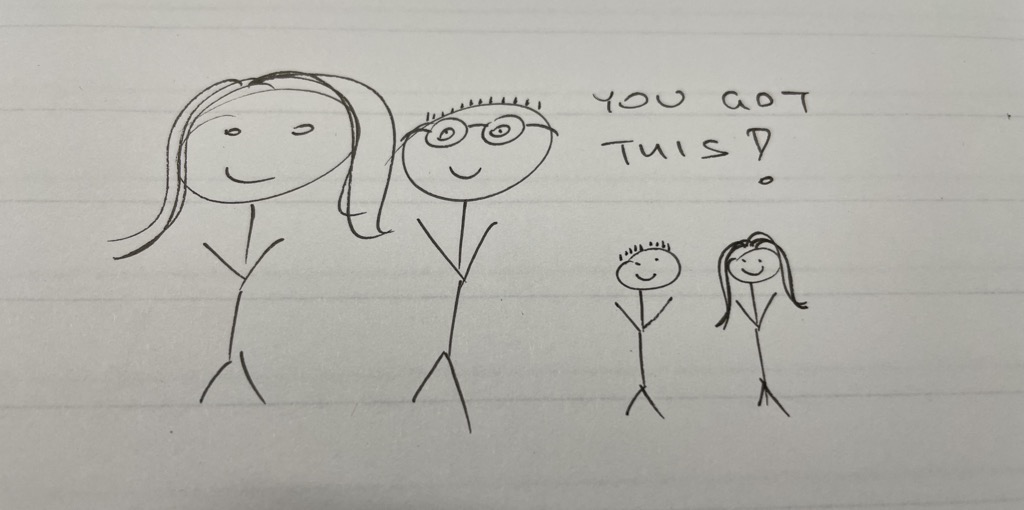
Self-sabotage is a real thing. What if we stopped it? What if we embrace what we can become, if only we wouldn’t be afraid of failure? [DT]
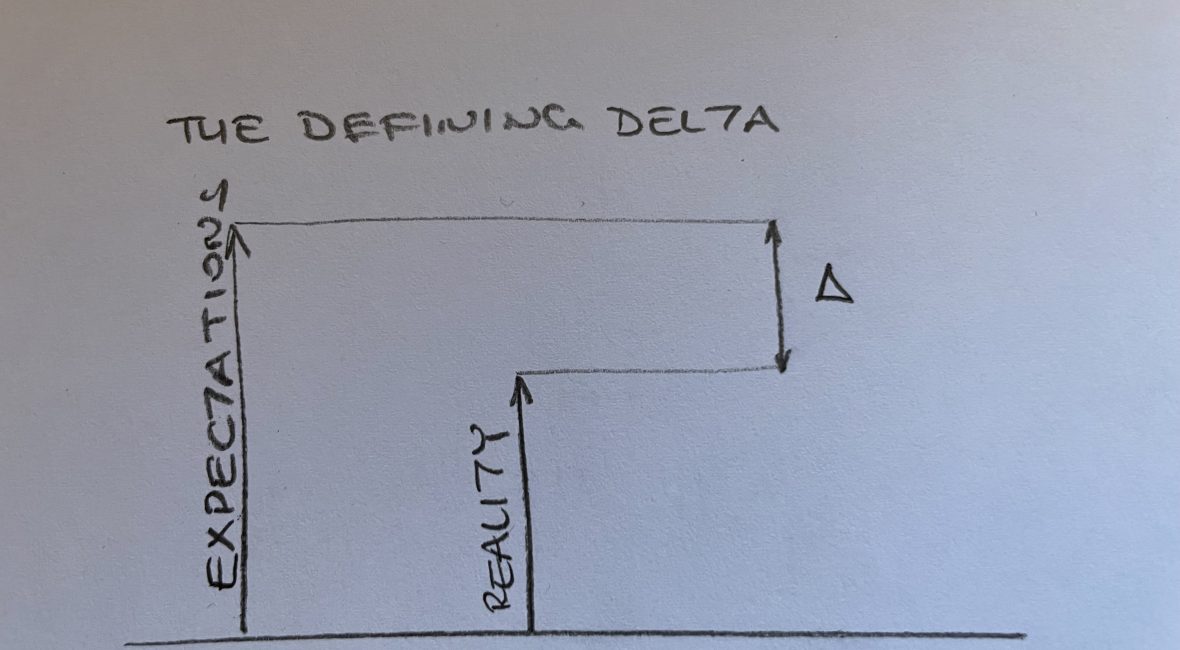
The way you deal with the delta between reality and expectation is going to define your life, no matter the size of expectations. [DT]

What if before we point the finger we recognize that at least three of them are still pointing at us? What if that makes us reconsider the fact…

What if you devote the first hour of the day to yourself, intentionally trying to improve an aspect of your life that you’ve been putting off for too…
We need more games that make us think instead of those that dumb us down. Video games are not bad (in moderation). Boardgames are better. Puzzle games are…

In this new “Daily Thoughts” series, I’m just scratching my own itch. For too long now I’ve been reading and consuming. Not that there’s something inherently wrong with…

The gaming industry is changing rapidly, with more users than ever before turning to online games. Some play games with friends on a console, playing titles such as…

TL;DR In this post, you’ll learn how to use Vue CLI to build a Vue.js 3 application for searching Giphy’s GIFs by using their API. Introduction – The…