
How to get your MEAN stack up and running in less than a minute

Over the past year I’ve tried lots of options for hosting my MEAN applications, and finally I’ve settled for DigitalOcean. It’s true what they advertise – that you can have a SSD cloud server up and running in less than 55 seconds. However, you don’t have to go spending your hard earned cash just yet – I have a special deal with DigitalOcean and you can signup via this link and get 10$ immediately, which will be enough for 2 full months of non stop server running. They even provide you with API so that you can control your server, and this tutorial shows you how.
I don’t want to make it look like I’m pushing you on DigitalOcean – you can sign up with someone else if you like, I just recommend them because I had a good experience with them in the past and because it’s so easy to get a MEAN stack all pre-installed (more on this in a bit) and ready for use.
Create a droplet
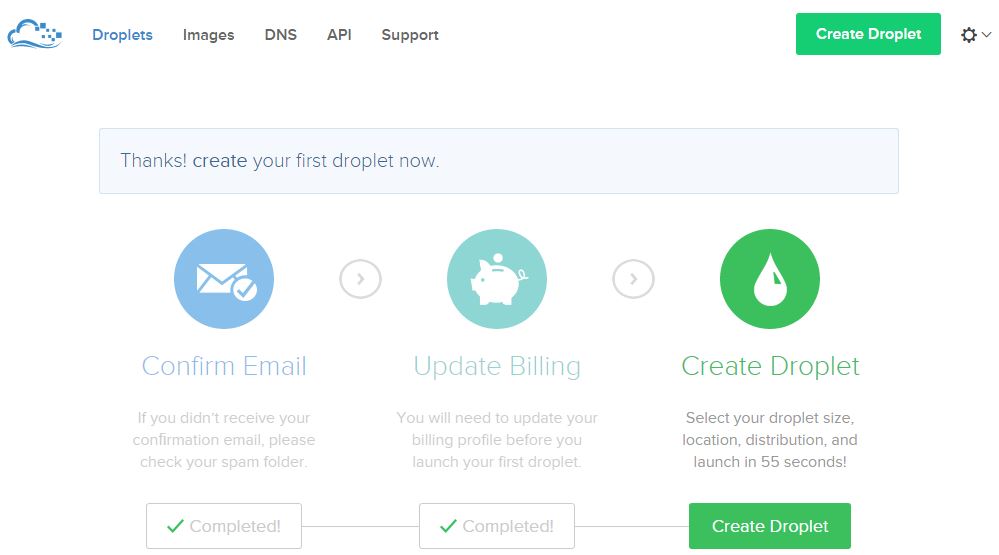
Once you complete the sign up on DigitalOcean you will be presented with a similar screen, as show on the image below, where you have to click on the Create Droplet button:
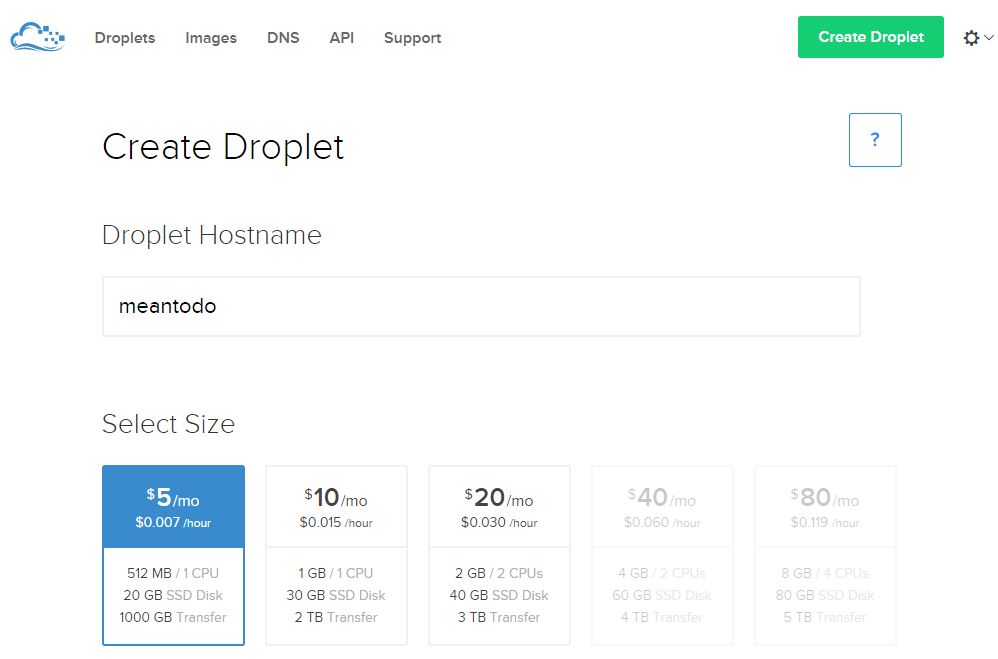
Next, you have to name your droplet (cool name the folks at DigitalOcean chose to call their server instances) and select the size (the smallest one will be just fine here), just as it’s shown on the image below:
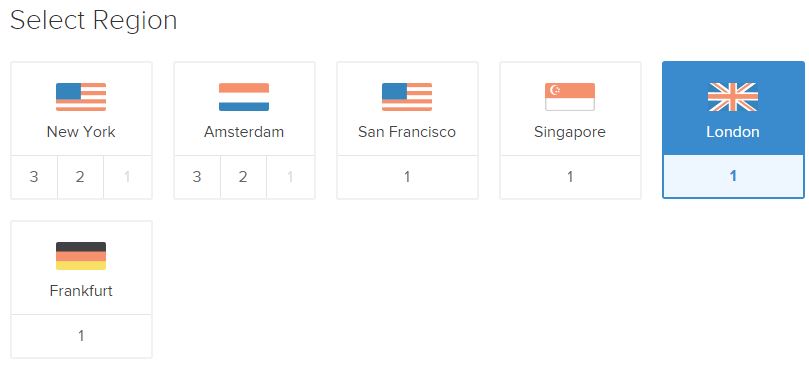
After this, you have to choose a region, as shown on the image below. Naturally, you’ll want to choose some location which is closer to your targeted audience.
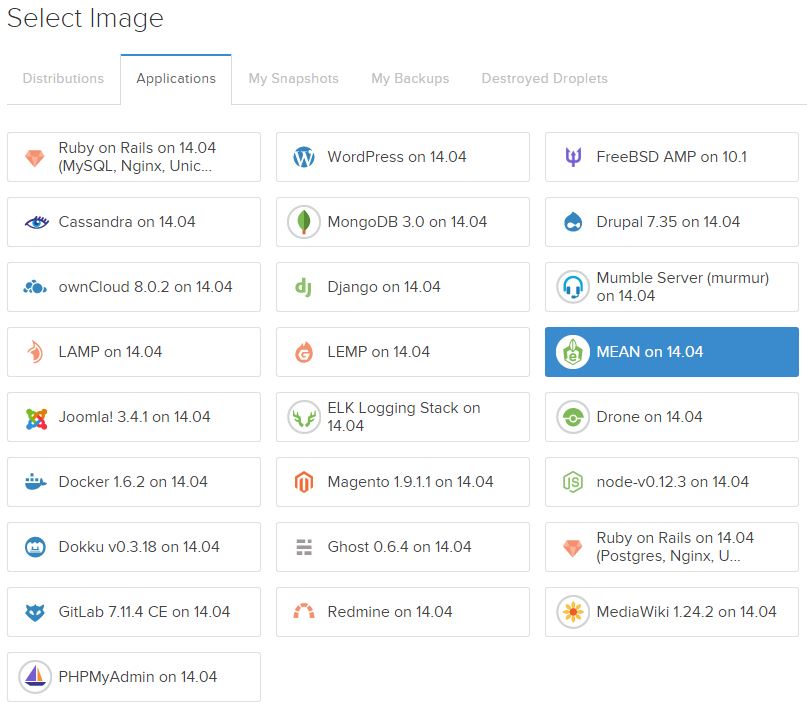
Now comes the most awesome part. In Select Image section you have tons of options ranging from the barebones distributions (Centos, Ubuntu, Debian, etc.), to the pre-built stacks (LAMP, LEMP, WordPress, ROR, MEAN, etc.) like shown on the image below. Here you have to choose the MEAN on 14.04 option (YMMV on the exact number), and this is awesome because with this droplet you won’t have to go through the hassle of installing Node.js, Express and MongoDB as we did in the first tutorial – it will be already done and waiting for you! B-E-A-utiful!
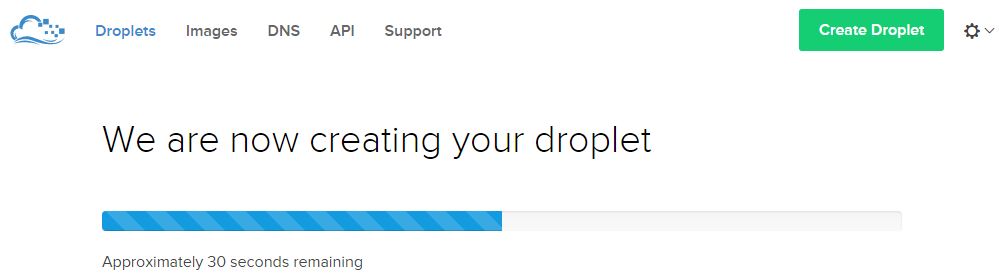
Then, just wait a few seconds and your droplet will be ready:
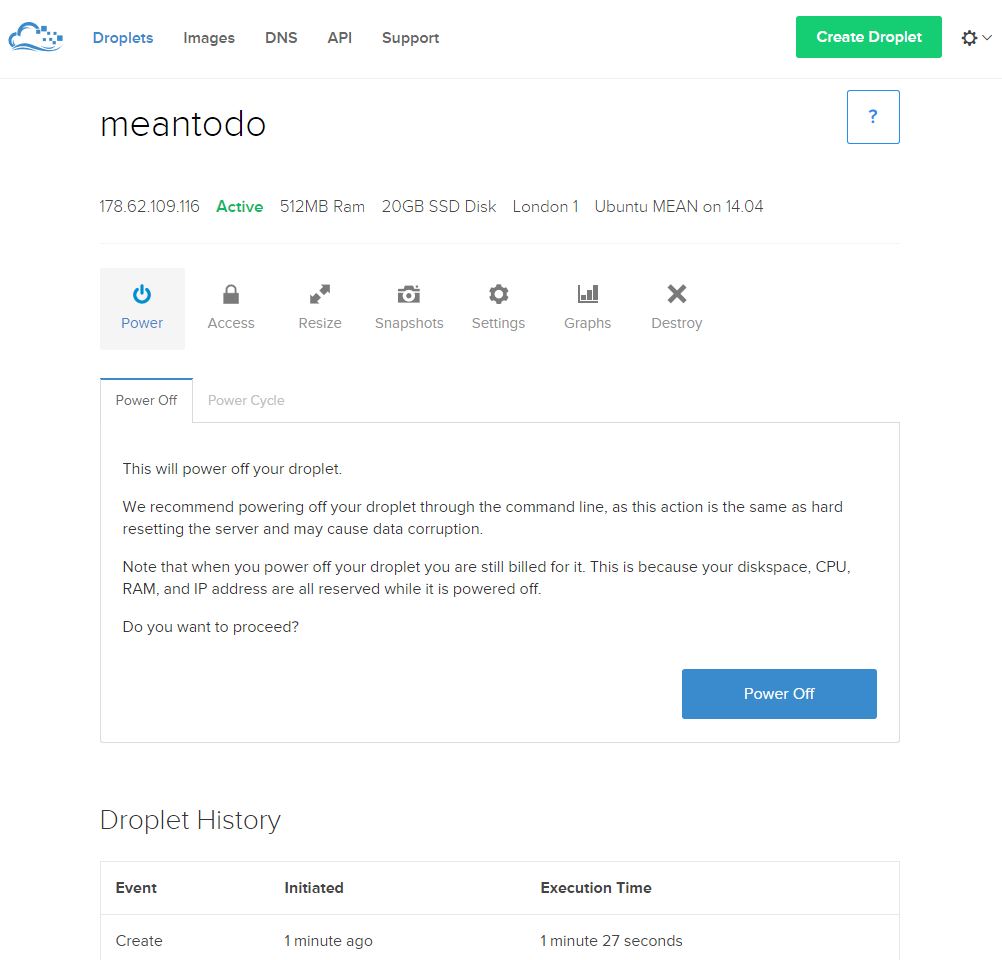
You’ll be redirected to the dashboard (once the droplet is created) which will look something like the image below:
Connect to the droplet
On your email address you will receive instructions which will look something like on the image below:

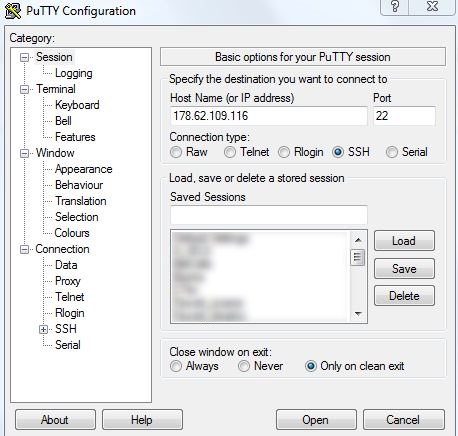
Now, using a SSH client of your choice (I’m currently on Windows so not much leeway here :)) connect to the droplet. The image below shows the setting from the Putty SSH client on Windows:
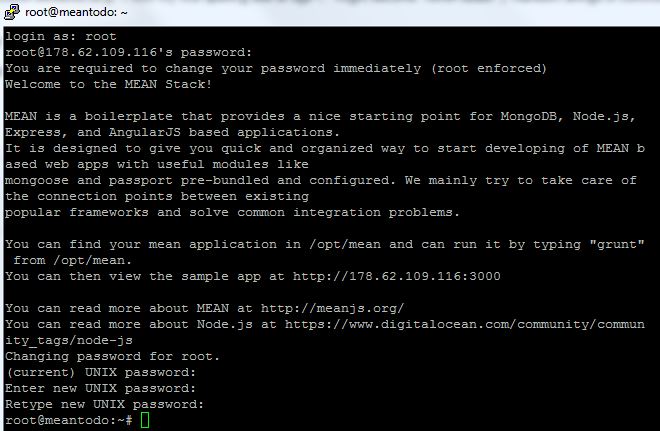
You have to connect with the root user and the password that was emailed to you. However, immediately upon logging in you will get a notification that you have to change the root’s password, as shown on the image below:
Create a new user
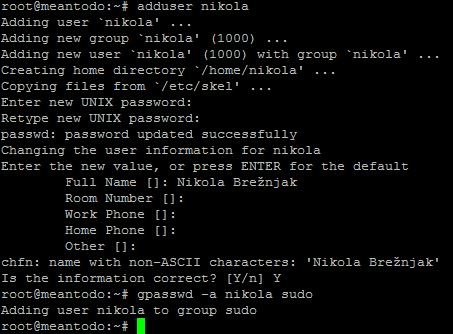
Using root user in linux is bad practice, so now you’re going to create a new user with the following command:
useradd nikola
Of course, you can use any username you want. After this add the user to the sudo group by executing the following command:
gpasswd -a nikola sudo
The sudo group enables the user nikola to use the sudo command when using some commands that are restricted to root user. You can learn more about sudo here. The image below shows the example of the commands I just listed:
Run
Now just run
grunt
and if you visit your ip address on port 3000 you should see:
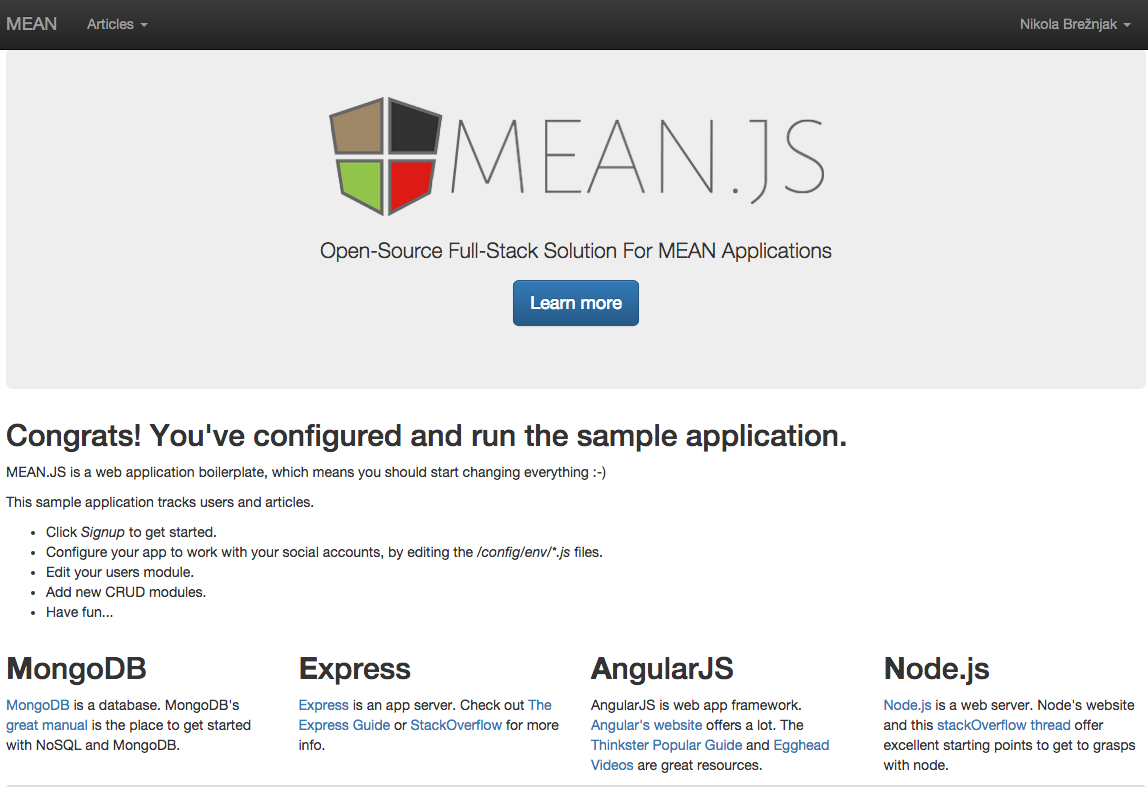
What you now have running is a well known MEAN.js framework. You may have also heard about MEAN.io and you can learn about the difference in my post about MEAN.io vs MEAN.js.
Use your own domain
In case you bought (or have somewhere hanging in the closet from the 90’s .com boom) a domain that you would like to use to point to your droplet you have to go to the DNS settings and add a domain like shown on the image below:
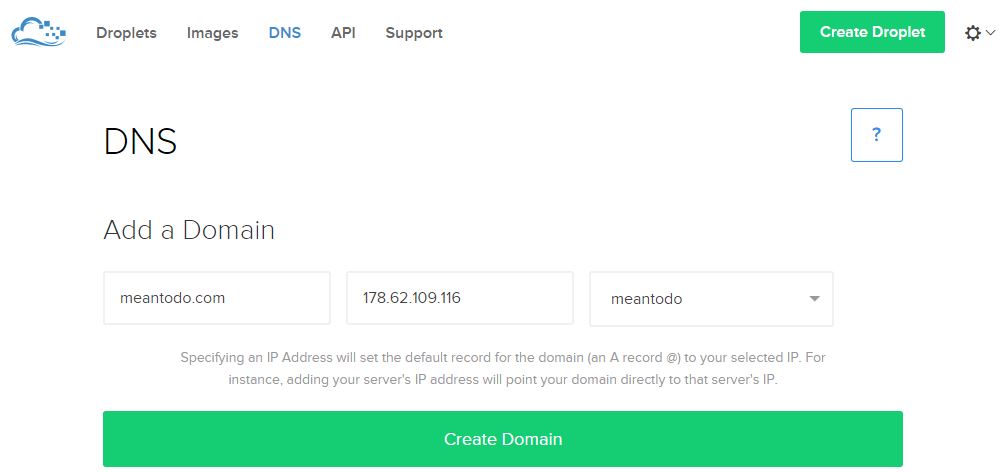
Also, in your domain registrar (where you bought your domain – think Godaddy, Namecheap, Hostgator, etc.) you have to set the corresponding nameservers to:
- ns1.digitalocean.com
- ns2.digitalocean.com
- ns3.digitalocean.com
You can learn more about this on the official Digital Ocean guide.
Using PM2
Running your Node.js application by hand is, well, not the way we roll. Imagine restarting the app every time something happens, or god forbid application crashes in the middle of the night and you find about it only in the morning – ah the horror. PM2 solves this by:
- allowing you to keep applications alive forever
- reloading applications without downtime
- facilitating common system admin tasks
To install PM2, run the following command:
sudo npm install pm2 -gTo start your process with PM2, run the following command (once in the root of your application):
pm2 start server.js
As you can see from the output shown on the image below, PM2 automatically assigns an App name (based on the filename, without the .js extension) and a PM2 id. PM2 also maintains other information, such as the PID of the process, its current status, and memory usage.

As I mentioned before, the application running under PM2 will be restarted automatically if the application crashes or is killed, but an additional step needs to be taken to get the application to launch on system startup (boot or reboot). The command to do that is the following:
pm2 startup ubuntu
The output of this command will instruct you to execute an additional command which will enable the actual startup on boot or reboot. In my case the note for the additional command was:
sudo env PATH=$PATH:/usr/local/bin pm2 startup ubuntu -u nikola
If you want to learn more about the additional PM2 options you can take a look at this post.
Using NGINX as a Reverse proxy in front of your Node.js application
Though this step is not mandatory, there are several benefits of doing so, as answered in this Stack Overflow question:
- Not having to worry about privileges/setuid for the Node.js process. Only root can bind to port 80 typically. If you let nginx/Apache worry about starting as root, binding to port 80, and then relinquishing its root privileges, it means your Node app doesn’t have to worry about it.
- Serving static files like images, CSS, js, and HTML. Node may be less efficient compared to using a proper static file web server (Node may also be faster in select scenarios, but this is unlikely to be the norm). On top of files serving more efficiently, you won’t have to worry about handling eTags or cache control headers the way you would if you were servings things out of Node. Some frameworks may handle this for you, but you would want to be sure. Regardless, still probably slower.
- More easily display meaningful error pages or fall back onto a static site if your node service crashes. Otherwise users may just get a timed out connection.
- Running another web server in front of Node may help to mitigate security flaws and DoS attacks against Node. For a real-world example, CVE-2013-4450 is prevented by running something like Nginx in front of Node.
So, with being convinced that having NGINX in front of Node.js application is a good thing, following are the steps on how to install and configure it.
First, update the apt-get package lists with the following command:
sudo apt-get update
Then install NGINX using apt-get:
sudo apt-get install nginx
Now open the default server block configuration file for editing:
sudo vi /etc/nginx/sites-available/default
and add this to it:
server {
    listen 80;

    server_name meantodo.com;

    location / {
        proxy_pass http://127.0.0.1:3000;
        proxy_http_version 1.1;
        proxy_set_header Upgrade $http_upgrade;
        proxy_set_header Connection 'upgrade';
        proxy_set_header Host $host;
        proxy_cache_bypass $http_upgrade;
    }
}
This configures the web server to respond to requests at its root. Assuming our server is available at http://meantodo.com, accessing it via a web browser would send the request to the application server’s private IP address on port 3000, which would be received and replied to by the Node.js application.
Once you’re done with the setting you have to run the following command which will restart NGINX:
sudo service nginx restart
You can learn more about additional NGINX setting from quite a load of tutorials.
Faking RAM with swap
Since we chose the smallest droplet version of 512 MB we can use swap to make this droplet perform better. Swap is an area on a hard drive that has been designated as a place where the operating system can temporarily store data that it can no longer hold in RAM. For a more indepth tutorial on this you may want to check out official DigitalOcean guide.
In order to allocate a swap file space execute the following command:
sudo fallocate -l 1G /swapfile
Then restrict it to only root user by executing:
sudo chown 600 /swapfile
With the next two commands you actually setup the swap space and enable it:
sudo mkswap /swapfile
sudo swapon /swapfile
To view the swap space information you can execute:
sudo swapon -s
To enable swap automatically when the server restarts you have to add the following content to the /etc/fstab file:
/swapfile none swap sw 0 0Additionally, there are two more settings worth changing:
- swappiness – parameter which determines how often your system swaps data out of RAM to the swap space. The value is between 0 and 100 and represents a percentage (60 is the default, but we’ll use 10 since we’re on a VPS)
- vfs_cache_pressure – parameter which determines how much the system will choose to cache inode and dentry information over other data (default value is 100, but we’ll use 50)
In order to make this change append the /etc/sysctl.conf file with the following content:
vm.swappiness=10
vm.vfs_cache_pressure = 50
Other security concerns
If you want to learn more on how to secure your droplet I advise you to go over the steps in the initial server setup with Ubuntu on official DigitalOcean tutorial.
A freakin’ 150+ page MEAN tutorial PDF
This is actually an excerpt from the 4 part tutorial series I wrote for HackHands. If you like you can also take a look at all those posts combined into one big PDF file via LeanPub:

P.S. It’s an intentional typo, since if you’re proud of getting something in production then it’s called a prouduction 😉
P.P.S. You can enter any amount (yes, even 0$) and I won’t take it against you ;), though a coffee would be nice ![]()
![]() on!
on!


Thanks this worked for my Mean stack app perfectly.
Glad to hear this!